本文最后更新于 2024-10-22T11:39:09+00:00
上一篇:圆形、圆弧段的绘制算法
下一篇:暂无
橡皮筋技术
橡皮筋技术就是可以使得用户进行可视化编辑,也就是在编辑的时候,图像能够进行实时的变化。这是一种非常实用的技术,接下来和大家讲解一下这个技术。
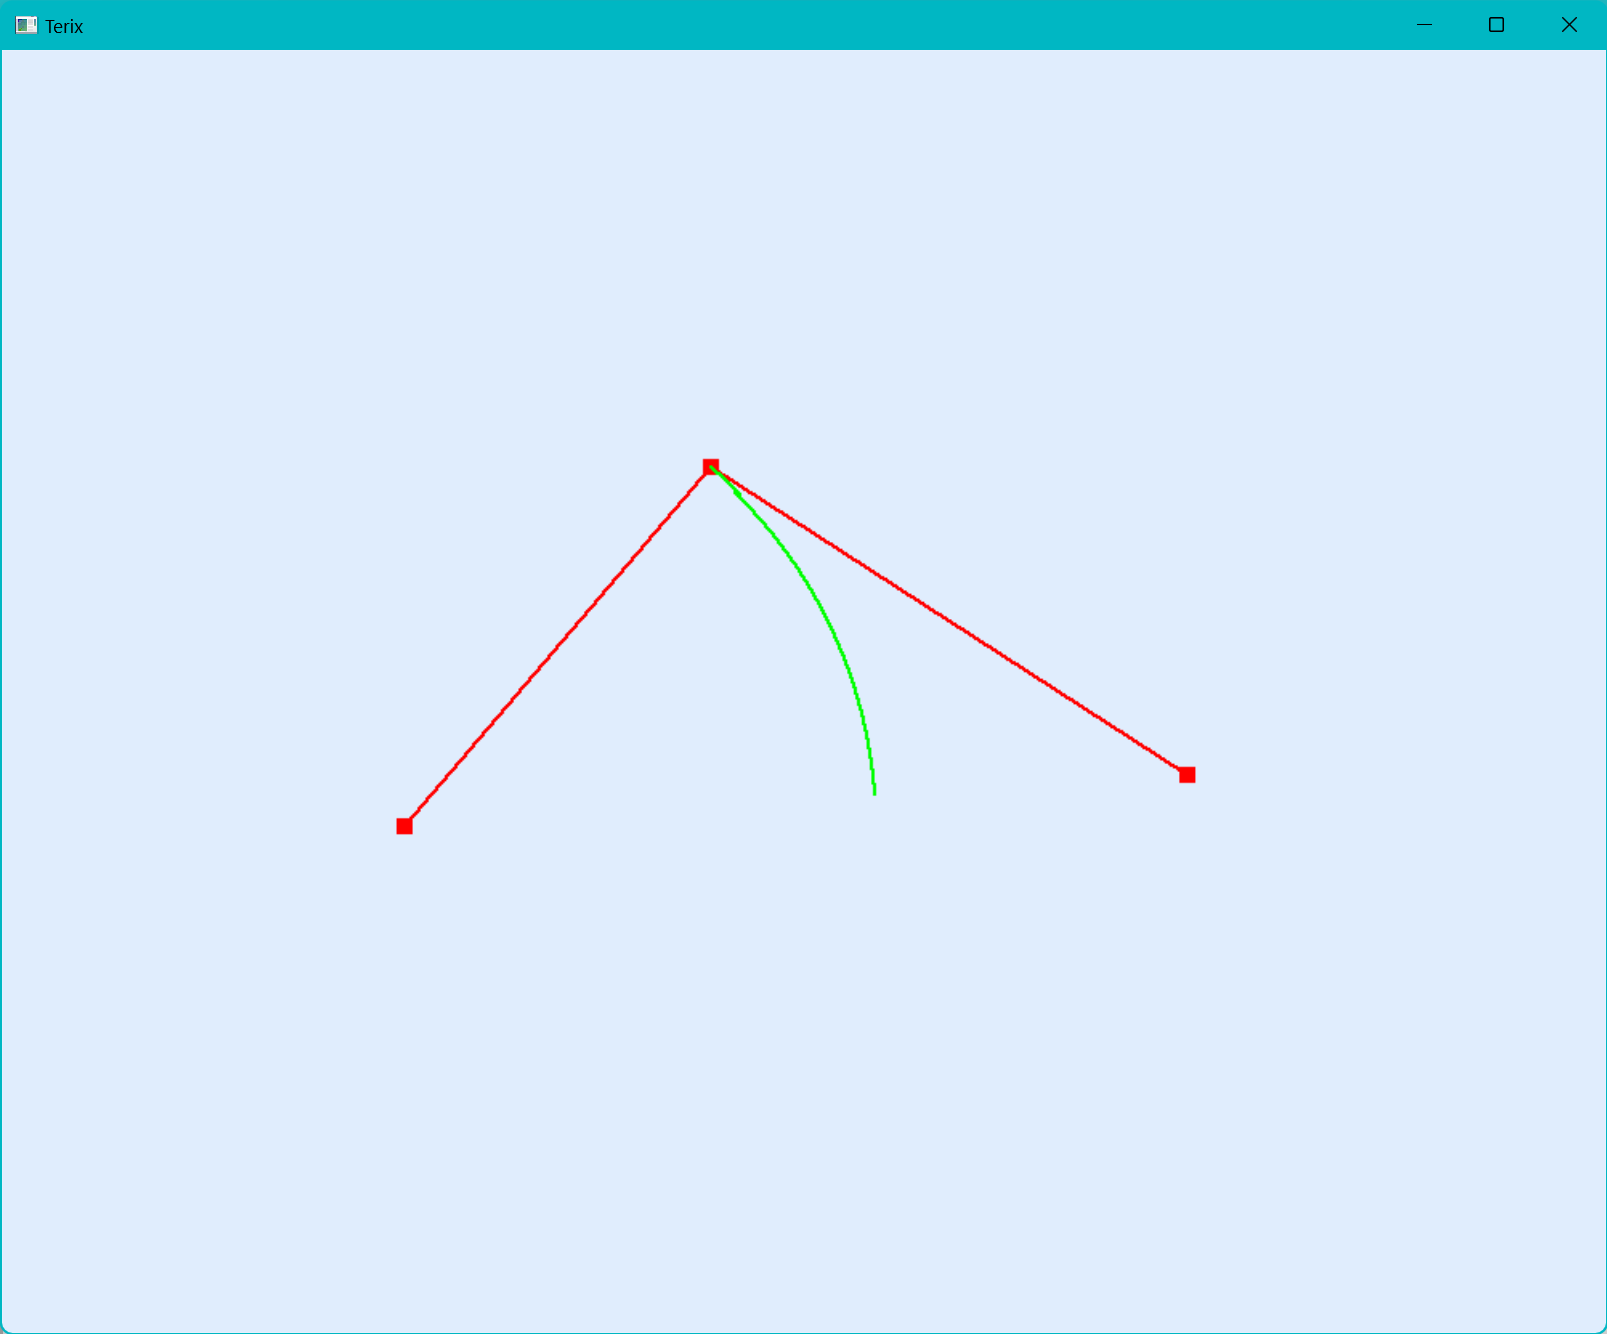
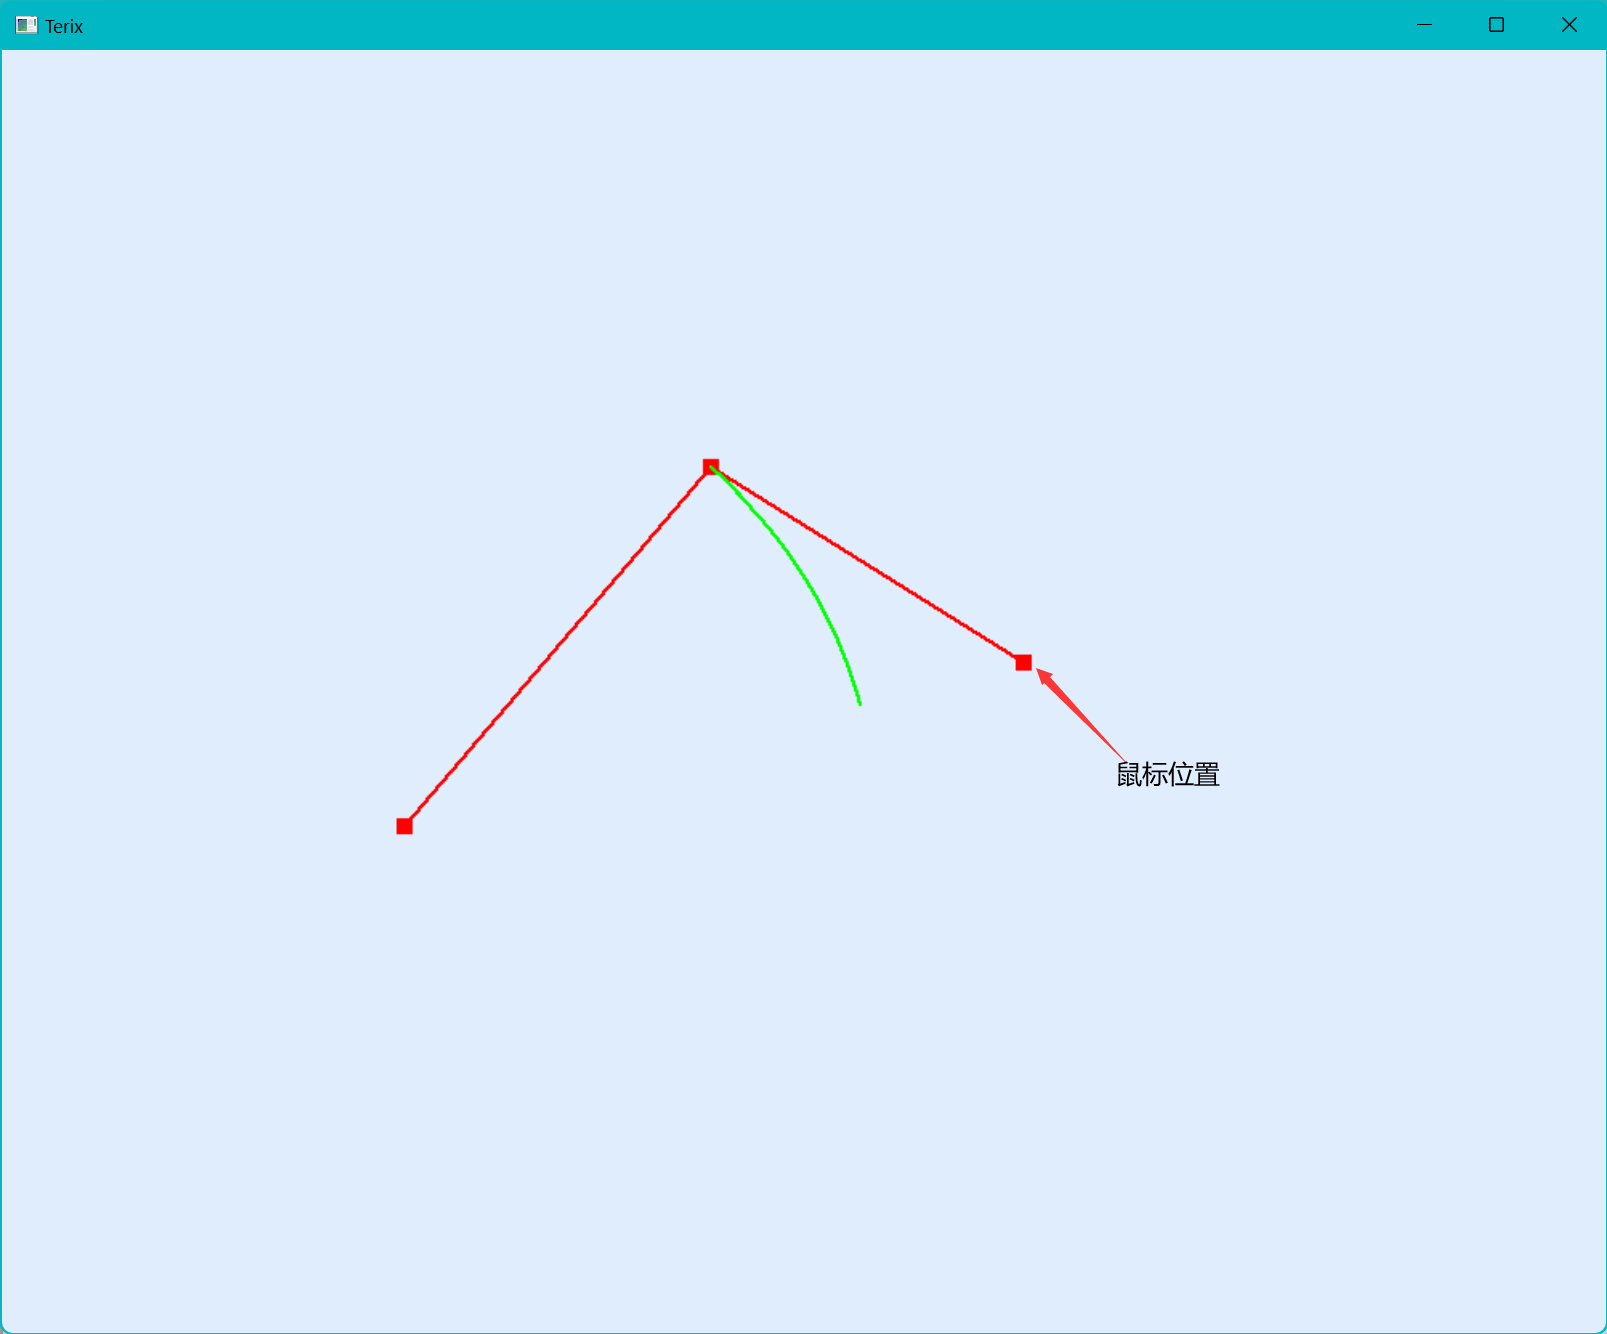
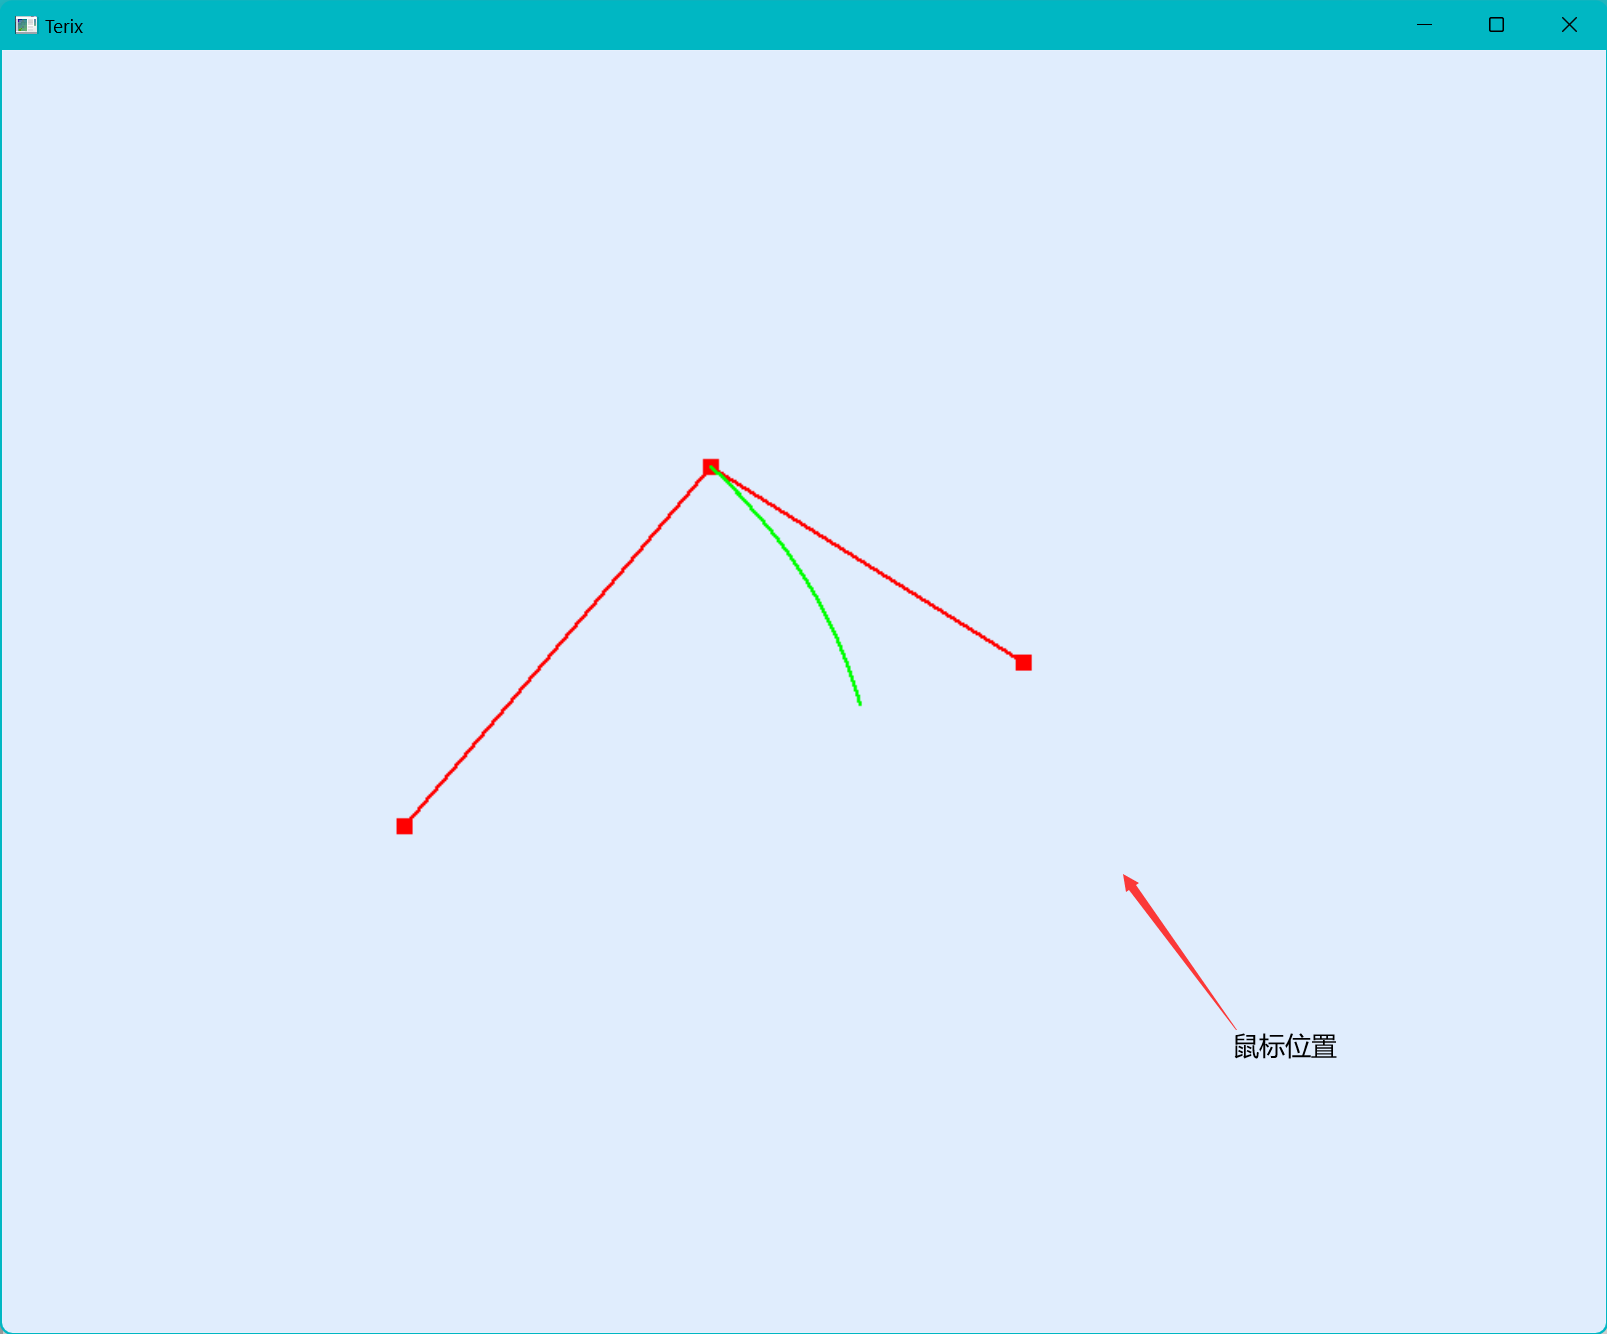
我们有鼠标点击回调函数,还有鼠标移动回调函数。我们需要的是在鼠标点击过后,移动鼠标能够预览我们绘制的图像。比如这是有无橡皮筋技术的对比:
有橡皮筋技术


随着鼠标的移动,我们的最后一个顶点会跟着移动,可以达到很好的编辑效果。
没有橡皮筋技术


每次都会确定一个顶点位置,不能进行实时的更改。
橡皮筋技术的实现需要的两个函数和一个枚举:
1
2
3
4
5
6
7
8
|
glutMouseFunc(onMouse);
glutPassiveMotionFunc(onMouseMove);
typedef enum {
MOVE,
NONE
}MOUSEMODE;
|
鼠标点击回调函数
处理点击事件时,我们设置第一次点击创建两个顶点。想象一下,点击一次后,我们移动会带动第二个点移动,也就是说我们第一次点击需要创建两个顶点。在后面的点击只需要创建一个。并且把MouseMode更新为MOVE
1
2
3
4
5
6
7
8
9
10
11
12
13
14
15
16
|
if (state == GLUT_DOWN) {
if (button == GLUT_LEFT_BUTTON) {
if (!Vertex.size())
Vertex.push_back(make_pair(x, y));
Vertex.push_back(make_pair(x, y));
ctrlPoint = Vertex.size();
MouseMode = MOVE;
}
}
|
鼠标移动回调函数
在创建顶点过后,我们在鼠标移动回调函数中对最后一格顶点进行位置的更改,我们也可以叫最后一个顶点为临时顶点。
1
2
3
4
5
6
7
8
|
if (MouseMode == MOVE) {
Vertex[ctrlPoint - 1].first = xMouse, Vertex[ctrlPoint - 1].second = yMouse;
glutPostRedisplay();
}
|
额外的——使用右键进行顶点的消除和暂停绘制
1
2
3
4
5
6
7
8
9
10
11
12
13
14
15
16
17
18
19
20
21
22
|
else if (button == GLUT_RIGHT_BUTTON) {
if (MouseMode == MOVE) {
MouseMode = NONE;
return;
}
auto ibeg = Vertex.begin();
while (ibeg != Vertex.end()) {
if (((x - ibeg->first) * (x - ibeg->first)) + ((y - ibeg->second) * (y - ibeg->second)) < 400) {
Vertex.erase(ibeg);
break;
}
ibeg++;
}
}
|
这里是可以用于前面圆和圆弧绘制的测试代码
1
2
3
4
5
6
7
8
9
10
11
12
13
14
15
16
17
18
19
20
21
22
23
24
25
26
27
28
29
30
31
32
33
34
35
36
37
38
39
40
41
42
43
44
45
46
47
48
49
50
51
52
53
54
55
56
57
58
59
60
61
62
63
64
65
66
67
68
69
70
71
72
73
74
75
76
77
78
79
80
81
82
83
84
85
86
87
88
89
90
91
92
93
94
95
96
97
98
99
100
101
102
103
104
105
106
107
108
109
110
111
112
113
114
115
116
117
118
119
120
121
122
123
124
125
126
127
128
129
130
131
132
133
134
135
136
137
|
#include <gl/glut.h>
#include <iostream>
#include <vector>
#include <string>
#include <sstream>
#include "DrawLine.hpp"
#include "DrawRound.hpp"
using namespace std;
#define m_POINT_SIZE 10
#define m_LINE_SIZE 2
typedef enum {
MOVE,
NONE
}MOUSEMODE;
vector<pair<GLint, GLint >>Vertex;
MOUSEMODE MouseMode = NONE;
GLint ctrlPoint = 0;
void onDisplay();
void onReshape(GLint w, GLint h);
void onMouse(GLint button, GLint state, GLint x, GLint y);
void onMouseMove(GLint xMouse, GLint yMouse);
void onReshape(GLint w, GLint h)
{
glViewport(0, 0, w, h);
glMatrixMode(GL_PROJECTION);
glLoadIdentity();
gluOrtho2D(0, w, h, 0);
glMatrixMode(GL_MODELVIEW);
glutPostRedisplay();
}
void onMouse(GLint button, GLint state, GLint x, GLint y){
if (state == GLUT_DOWN) {
if (button == GLUT_LEFT_BUTTON) {
if(!Vertex.size())
Vertex.push_back(make_pair(x, y));
Vertex.push_back(make_pair(x, y));
ctrlPoint = Vertex.size();
MouseMode = MOVE;
}
else if (button == GLUT_RIGHT_BUTTON) {
if (MouseMode == MOVE) {
MouseMode = NONE;
return;
}
auto ibeg = Vertex.begin();
while (ibeg != Vertex.end()) {
if (((x - ibeg->first) * (x - ibeg->first)) + ((y - ibeg->second) * (y - ibeg->second)) < 400) {
Vertex.erase(ibeg);
break;
}
ibeg++;
}
}
}
glutPostRedisplay();
}
void onMouseMove(GLint xMouse, GLint yMouse) {
if (MouseMode == MOVE) {
Vertex[ctrlPoint-1].first = xMouse, Vertex[ctrlPoint-1].second = yMouse;
glutPostRedisplay();
}
}
void onDisplay() {
glClearColor(224 / 255.0, 237 / 255.0, 253 / 255.0,1.0);
glClear(GL_COLOR_BUFFER_BIT);
glColor3f(1.0f, 0, 0);
auto ibeg = Vertex.begin(),jbeg=ibeg;
GLint VertexNum = Vertex.size();
while (ibeg != Vertex.end()) {
glPointSize(m_POINT_SIZE);
glBegin(GL_POINTS);
glVertex2i(ibeg->first, ibeg->second);
glEnd();
glPointSize(m_LINE_SIZE);
if(VertexNum>=2) {
BRESENHAM_Line(ibeg->first, ibeg->second, jbeg->first, jbeg->second);
}
jbeg = ibeg;
ibeg++;
}
if (VertexNum >= 3) {
cout << "Draw CircleArc" << endl;
DrawCircleArc(Vertex[0].first, Vertex[0].second, Vertex[1].first, Vertex[1].second, Vertex[2].first, Vertex[2].second);
}
glutSwapBuffers();
cout << "Once" << endl;
}
GLint main(GLint argc, char* argv[])
{
glutInit(&argc, argv);
glutInitDisplayMode(GLUT_DOUBLE | GLUT_RGB);
glutInitWindowSize(1000,800);
glutInitWindowPosition(0, 0);
glutCreateWindow("Terix");
glutReshapeFunc(onReshape);
glutDisplayFunc(onDisplay);
glutMouseFunc(onMouse);
glutPassiveMotionFunc(onMouseMove);
glutMainLoop();
return 0;
}
|
椭圆扫描算法
然后我们来介绍一下最后一个绘制圆锥曲线的算法(我的专栏里)——椭圆的绘制.
由于椭圆的对称性较圆稍差,它的对称性只有4份,也就是四个卦象内对称,也就是说我们得绘制出第一卦象一整个卦象的图像。当斜率绝对值小于1的时候使用x作为步长,反之为y轴。接下来来推导一下迭代方程和斜率的判别式:
设一个椭圆方程为
\[b^2 x^2+a^2 y^2-a^2b^2=0 \]
x轴
假设当前最佳迭代点为 \((x_i+1, y_i)\),那么对于下一个迭代点的两种情况:
\[d_i=F(x_i+2,y_i-0.5)=b^2(x_i+1)^2+a^2(y_i-0.5)^2-a^2b^2 \]
d<0
\[d_i=F(x_i+2,y_i-0.5)=d+b^2(2x_i+3) \]
d>=0
\[d_i=F(x_i+2,y_i-1.5)=d+b^2(2x_i+3)+a^2(-2y_i+2) \]
迭代终点为斜率的绝对值大于1
斜率判别式
\[|k|=\frac{a^2(y_i-0.5)}{b^2(x_i+1)} \]
转化为:
\[b^2(x_i+1)<a^2(y_i-0.5) \]
y轴
同样的我们可以得到:
d<0
\[d_i=F(x_i+1.5,y_i-2)=d+b^2(2x_i+2)+a^2(-2y_i+3) \]
d>0
\[d_i=F(x_i+0.5,y_i-2)=d+a^2(-2y_i+3) \]
迭代终点为y==0
因为单纯使用函数已经无法很好的维护数据了,所以从椭圆开始我会将所有的算法和所需要的数据结构封装成类。
Ellipt类
1
2
3
4
5
6
7
8
9
10
11
12
13
14
15
16
17
18
19
20
21
22
23
24
25
26
27
28
29
30
31
32
33
34
35
36
37
38
39
40
41
42
43
44
45
46
47
48
49
50
51
52
53
54
55
56
57
58
59
60
61
62
63
64
65
66
67
68
69
70
71
72
73
74
75
76
77
78
79
80
81
82
83
84
85
86
87
88
| class Ellipt {
public:
Ellipt(GLint P1x=0,GLint P1y=0,GLint P2x=0,GLint P2y=0)
{
m_a = abs(static_cast<GLint>(P1x - P2x)/2);
m_b= abs(static_cast<GLint>(P1y - P2y)/2);
m_R.x = static_cast<GLint>(((P1x + P2x) / 2.0 + 0.5));
m_R.y = static_cast<GLint>(((P1y + P2y) / 2.0 + 0.5));
}
void setData(GLint P1x, GLint P1y, GLint P2x, GLint P2y) {
m_a = abs(static_cast<GLint>(P1x - P2x)/2);
m_b = abs(static_cast<GLint>(P1y - P2y)/2);
m_R.x = static_cast<GLint>(((P1x + P2x) / 2.0 + 0.5));
m_R.y = static_cast<GLint>(((P1y + P2y) / 2.0 + 0.5));
}
void Draw(){
MidPt_Elliptse(m_R, m_a, m_b);
}
private:
myPoint m_R;
GLint m_a,m_b;
void MidPt_Elliptse(myPoint cPt, GLint a, GLint b) {
glBegin(GL_POINTS);
GLint x, y, temp = a * 7 / 10, dir[4][2] = {
{ 1, 1 }, { 1,-1 },
{ -1,1}, {-1,-1 }
};
double d;
x = 0, y = b;
d = b * b + a * a * (-b + 0.25);
for (int i = 0; i < 4; i++) {
glVertex2i(cPt.x + x * dir[i][0], cPt.y + y * dir[i][1]);
}
while ((b * b * (x + 1)<a * a * (y + 0.5))) {
if (d > 0)
{
x += 1;
y -= 1;
d += b * b * (2 * x + 3) + a * a * (-2 * y + 2);
}
else {
x += 1;
d += b * b * (2 * x + 3);
}
for (int i = 0; i < 4; i++) {
glVertex2i(cPt.x + x * dir[i][0], cPt.y + y * dir[i][1]);
}
}
while (y > 0) {
if (d >= 0) {
y -= 1;
d += a * a * (-2 * y + 3);
}
else {
x += 1;
y -= 1;
d += a * a * (-2 * y + 3) + b * b * (2 * x + 2);
}
for (int i = 0; i < 4; i++) {
glVertex2i(cPt.x + x * dir[i][0], cPt.y + y * dir[i][1]);
}
}
glFlush();
glEnd();
}
};
``` 其中用到的myPoint类
```cpp
class myPoint;
class myPoint {
public:
myPoint(GLint X=0,GLint Y=0 ):x(X),y(Y){}
GLint x, y;
};
myPoint operator+(const myPoint& a, const myPoint& b) {
return myPoint(a.x + b.x, a.y + b.y);
}
myPoint operator-(const myPoint& a, const myPoint& b) {
return myPoint(a.x - b.x, a.y - b.y);
}
GLint operator*(const myPoint& a, const myPoint& b) {
return a.x * b.x + a.y * b.y;
}
|
代码汇总
你可以在这里找到目前为止所有的源代码
阿里云盘-代码汇总
gitee-代码汇总
下/上一篇
上一篇:圆形、圆弧段的绘制算法
下一篇:暂无


