本文最后更新于 2024-10-22T11:39:04+00:00
Games101 HomeWork3
导航
导航
作业要求
第三次作业才是真正上强度的作业,作业要求和质量都特别高,先来看看所有的要求:
1 . 修改函数rasterize_triangle(const Triangle& t) in rasterizer.cpp: 在此处实现与作业 2 类似的插值算法,实现法向量、颜色、纹理颜色的插值。 2 . 修改函数 get_projection_matrix() in main.cpp: 将你自己在之前的实验中实现的投影矩阵填到此处,此时你可以运行./Rasterizer output.png normal来观察法向量实现结果。 3 . 修改函数 phong_fragment_shader() in main.cpp: 实现 Blinn-Phong 模型计算 Fragment Color. 4 . 修改函数 texture_fragment_shader() in main.cpp: 在实现 Blinn-Phong的基础上,将纹理颜色视为公式中的 kd,实现 Texture Shading FragmentShader. 5 . 修改函数 bump_fragment_shader() in main.cpp: 在实现 Blinn-Phong 的基础上,仔细阅读该函数中的注释,实现 Bump mapping. 6 . 修改函数 displacement_fragment_shader() in main.cpp: 在实现 Bumpmapping 的基础上,实现 displacement mapping. 提高题7 .尝试更多模型 8 .双线性纹理插值
rasterize_triangle中的插值
我们在第二题2x2的超采样的基础上进行,先看看题目的提示:
rasterize_triangle 函数与你在作业2 中实现的内容相似。不同之处在于被常数 ,而是按照 Barycentric Coordinates 对法向量、颜,这次你将需要将其应用在 其他参的插值上。你需要做的是 计算插值后的颜色**,并将Fragment Shader 计算得首先使用插值得到的结果设置 fragment ,并调用 fragment shader 得到计算结果。可以看见,这里基本给出了插值的操作步骤,这里对一个重心坐标做一个解释:
重心坐标(Barycentric Coordinates)
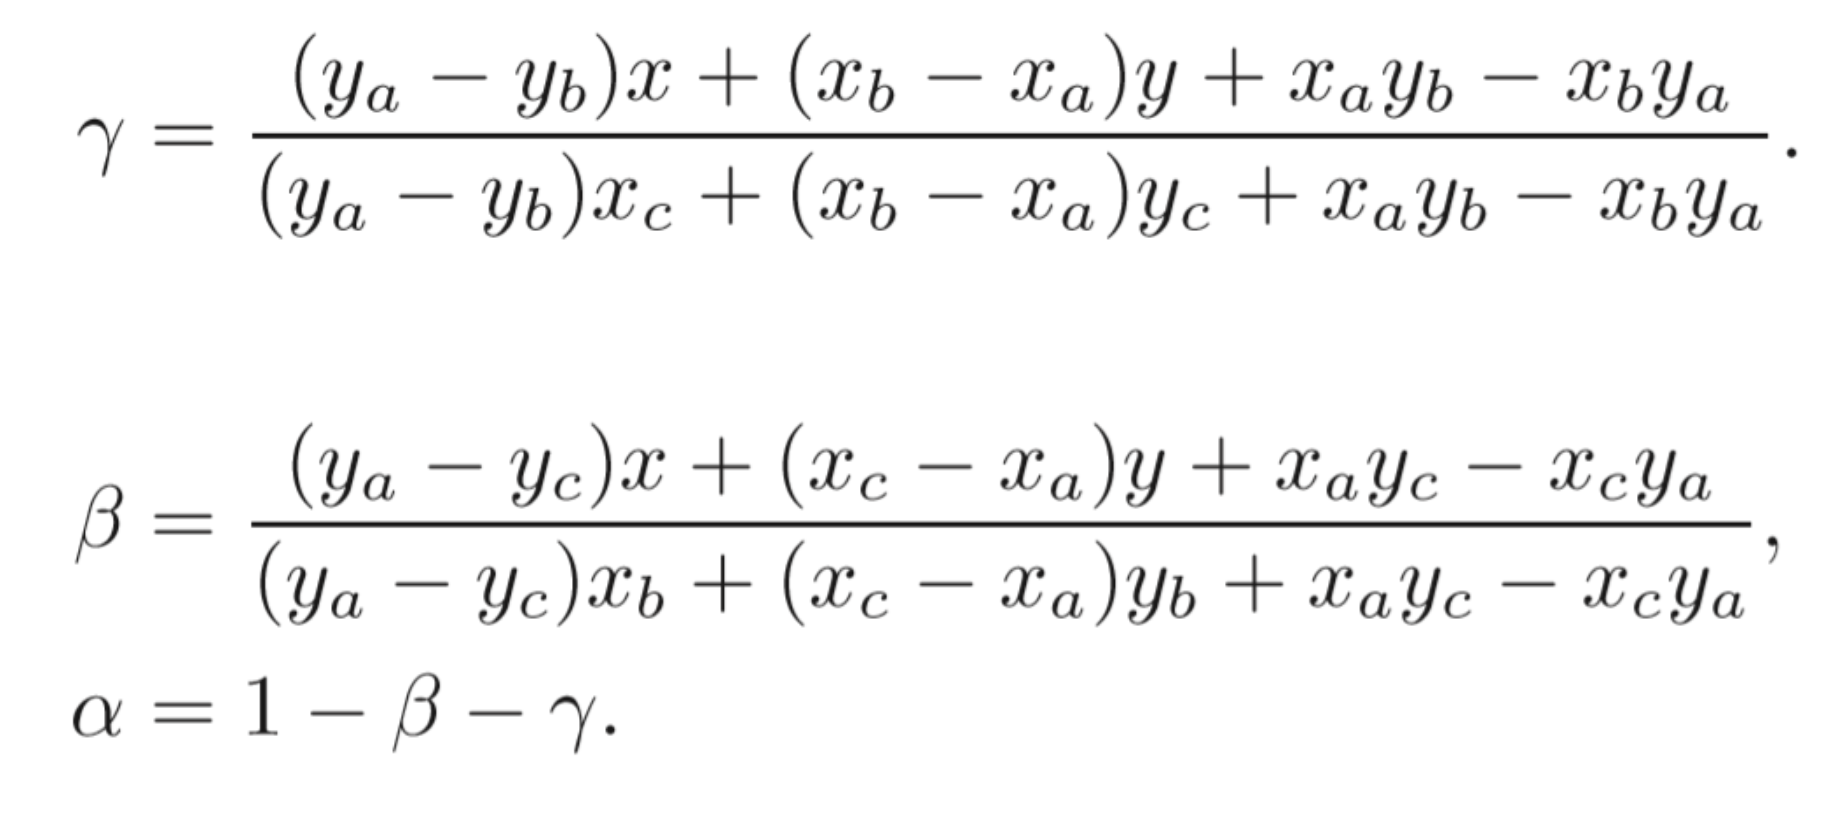
给定三角形的三点坐标A, B, C,该平面内一点(x,y)可以写成这三点坐标的线性组合形式,即 \((x,y)=\alpha A+\beta B+\gamma C\) 并且有\(\alpha + \beta +\gamma =1\)点\((\alpha ,\beta ,\gamma )\)就是这个点的重心坐标。关于重心坐标的求法,这里直接给出代码,不做推导:
1 2 3 4 5 6 7 static std ::tuple<float , float , float > computeBarycentric2D (float x, float y, const Vector4f* v) {float c1 = (x*(v[1 ].y() - v[2 ].y()) + (v[2 ].x() - v[1 ].x())*y + v[1 ].x()*v[2 ].y() - v[2 ].x()*v[1 ].y()) / (v[0 ].x()*(v[1 ].y() - v[2 ].y()) + (v[2 ].x() - v[1 ].x())*v[0 ].y() + v[1 ].x()*v[2 ].y() - v[2 ].x()*v[1 ].y());float c2 = (x*(v[2 ].y() - v[0 ].y()) + (v[0 ].x() - v[2 ].x())*y + v[2 ].x()*v[0 ].y() - v[0 ].x()*v[2 ].y()) / (v[1 ].x()*(v[2 ].y() - v[0 ].y()) + (v[0 ].x() - v[2 ].x())*v[1 ].y() + v[2 ].x()*v[0 ].y() - v[0 ].x()*v[2 ].y());float c3 = (x*(v[0 ].y() - v[1 ].y()) + (v[1 ].x() - v[0 ].x())*y + v[0 ].x()*v[1 ].y() - v[1 ].x()*v[0 ].y()) / (v[2 ].x()*(v[0 ].y() - v[1 ].y()) + (v[1 ].x() - v[0 ].x())*v[2 ].y() + v[0 ].x()*v[1 ].y() - v[1 ].x()*v[0 ].y());return {c1,c2,c3};
插值
有了重心公式,就可以对各个属性进行插值了,先写一个工具函数这里框架给出了,直接调用就好,来计算各种插值:
1 2 3 4 5 6 7 8 9 10 11 12 13 14 static Eigen::Vector3f interpolate (float alpha, float beta, float gamma, const Eigen::Vector3f& vert1, const Eigen::Vector3f& vert2, const Eigen::Vector3f& vert3, float weight) return (alpha * vert1 + beta * vert2 + gamma * vert3) / weight;static Eigen::Vector2f interpolate (float alpha, float beta, float gamma, const Eigen::Vector2f& vert1, const Eigen::Vector2f& vert2, const Eigen::Vector2f& vert3, float weight) auto u = (alpha * vert1[0 ] + beta * vert2[0 ] + gamma * vert3[0 ]);auto v = (alpha * vert1[1 ] + beta * vert2[1 ] + gamma * vert3[1 ]);return Eigen::Vector2f(u, v);
然后就是插值的实现了:
1
2
3
4
5
6
auto [alpha, beta, gamma] = computeBarycentric2D(i+0.5f , j+0.5f , t.v);auto interpolated_color=interpolate(alpha,beta,gamma,t.color[0 ],t.color[1 ],t.color[2 ],1 );auto interpolated_normal=interpolate(alpha,beta,gamma,t.normal[0 ],t.normal[1 ],t.normal[2 ],1 ).normalized();auto interpolated_shadingcoords=interpolate(alpha,beta,gamma,view_pos[0 ],view_pos[1 ],view_pos[2 ],1 );auto interpolated_texcoords=interpolate(alpha,beta,gamma,t.tex_coords[0 ],t.tex_coords[1 ],t.tex_coords[2 ],1 );
最后调用fragment_shader计算最后的颜色值
1
2
3
4
payload.view_pos = interpolated_shadingcoords;auto pixel_color = fragment_shader(payload);4.0f );
get_projection_matrix() 投影矩阵
前面提过了,这里只给出代码:
1
2
3
4
5
6
7
8
9
10
Eigen::Matrix4f get_projection_matrix (float eye_fov, float aspect_ratio, float zNear, float zFar) 180 *MY_PI;1 /(aspect_ratio*tan (eye_fov/2.0f )) ,0 ,0 ,0 ,0 ,1 /tan (eye_fov/2.0f ),0 ,0 ,0 ,0 ,-(zFar+zNear)/(zFar-zNear),2 *zFar*zNear/(zNear-zFar),0 ,0 ,-1 ,0 ;return projection;
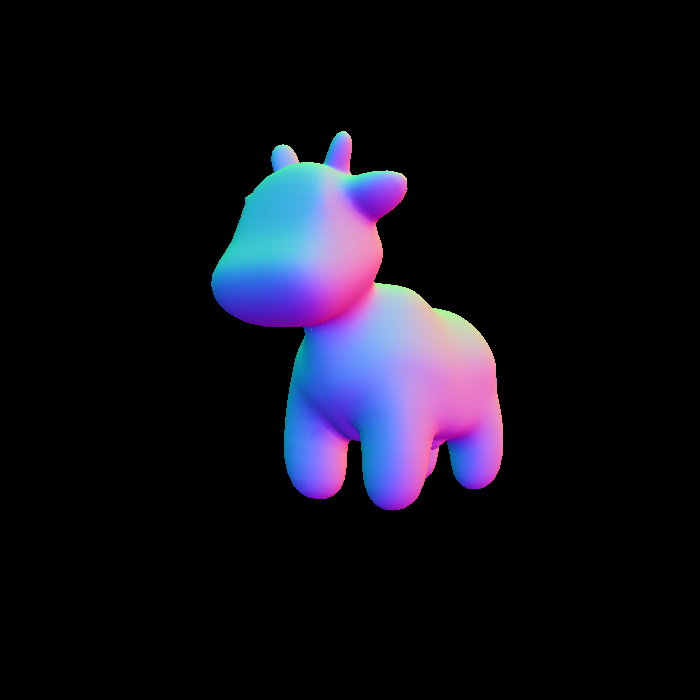
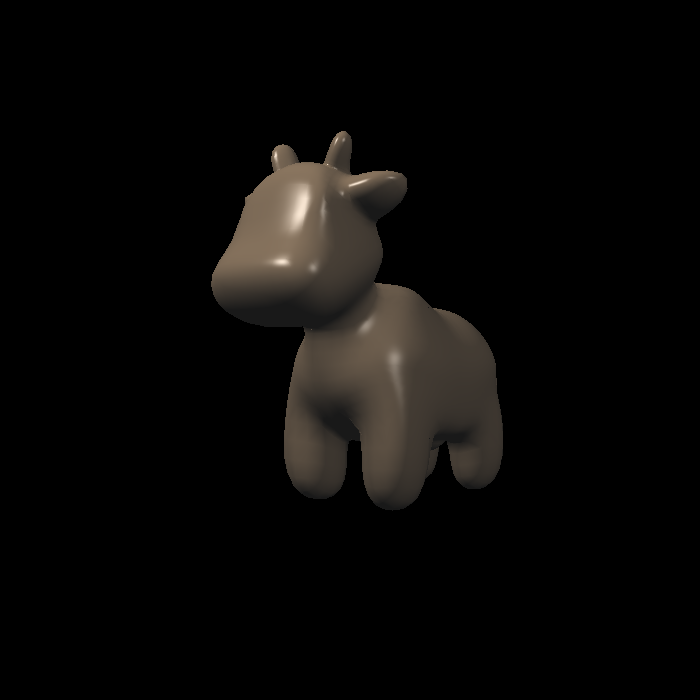
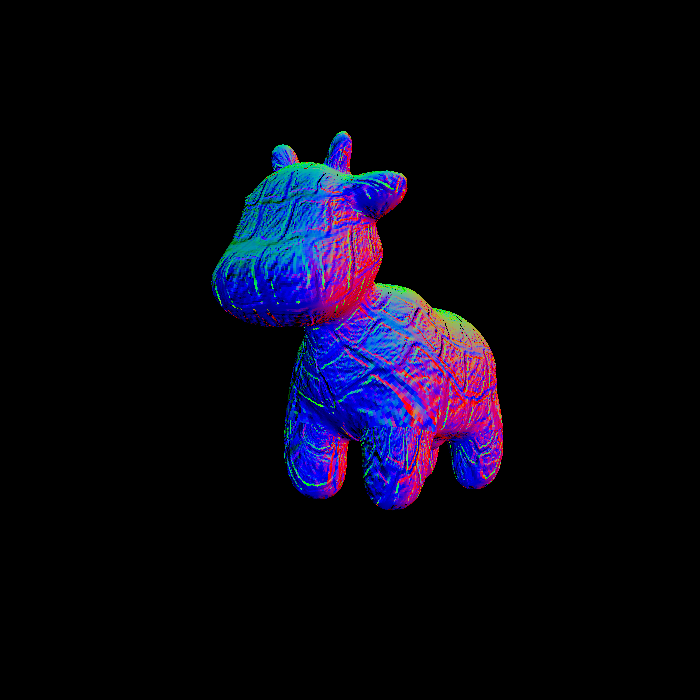
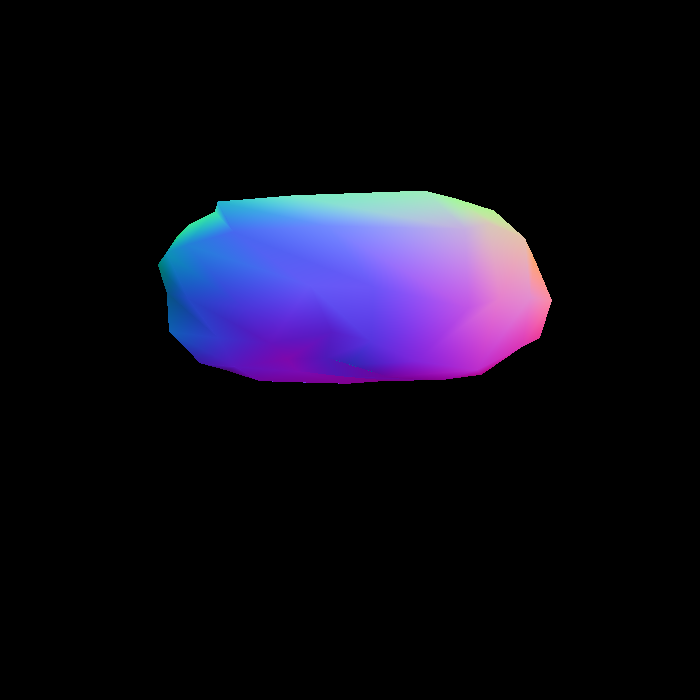
运行 ./Rasterizer normal.png normal
normal.png
phong_fragment_shader() 光照模型
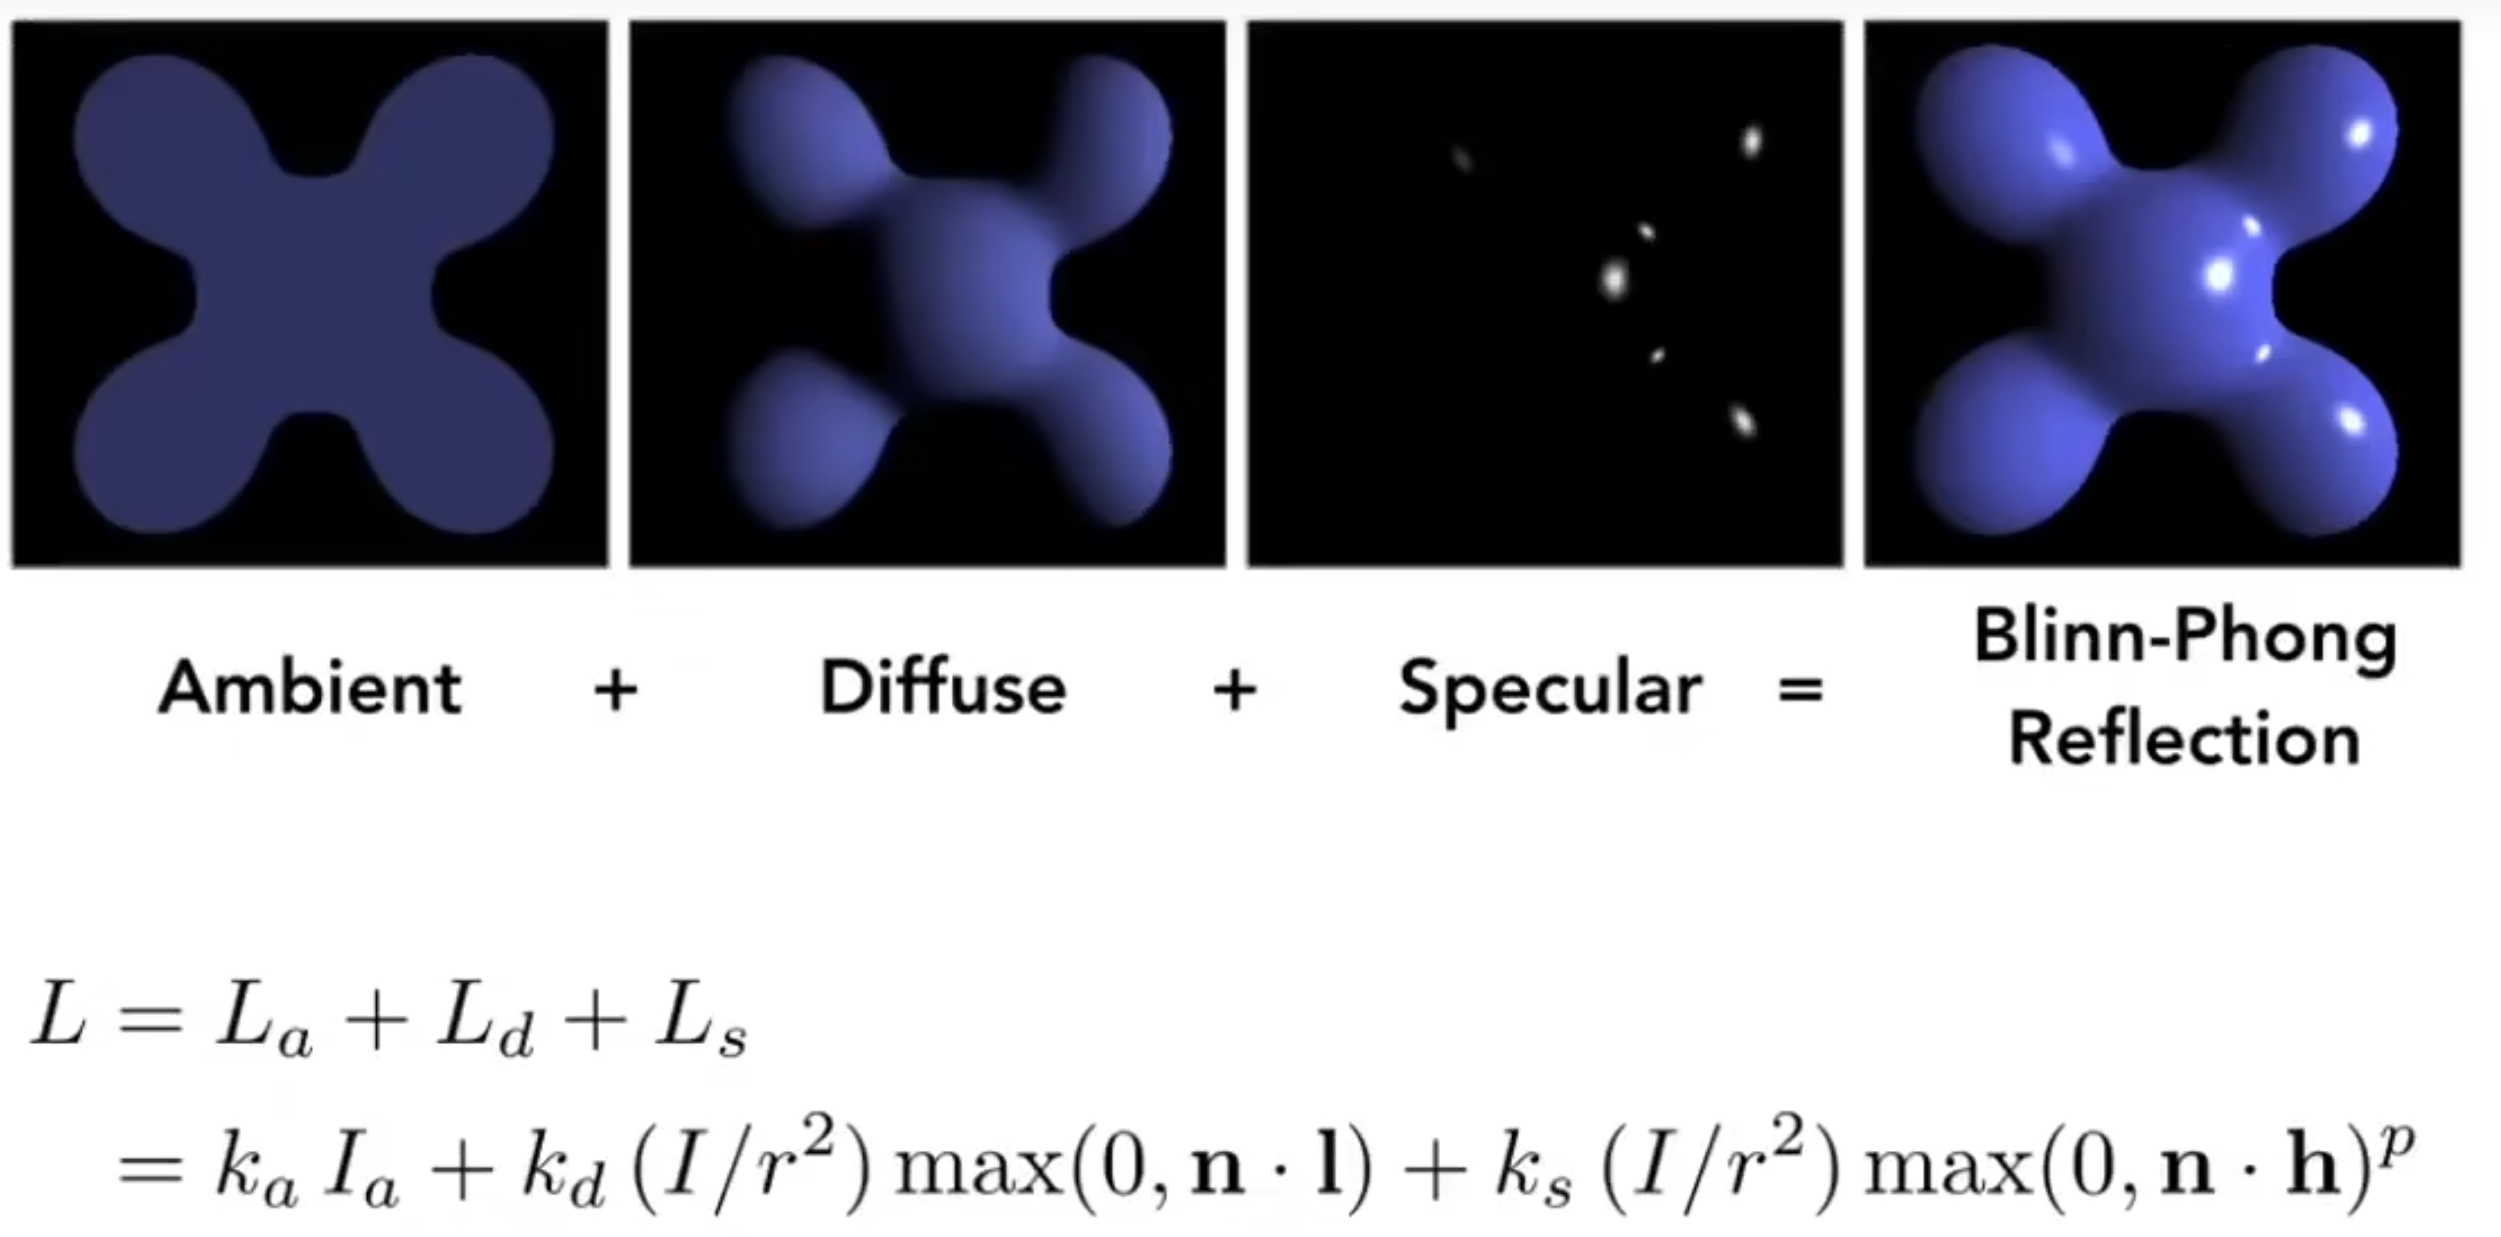
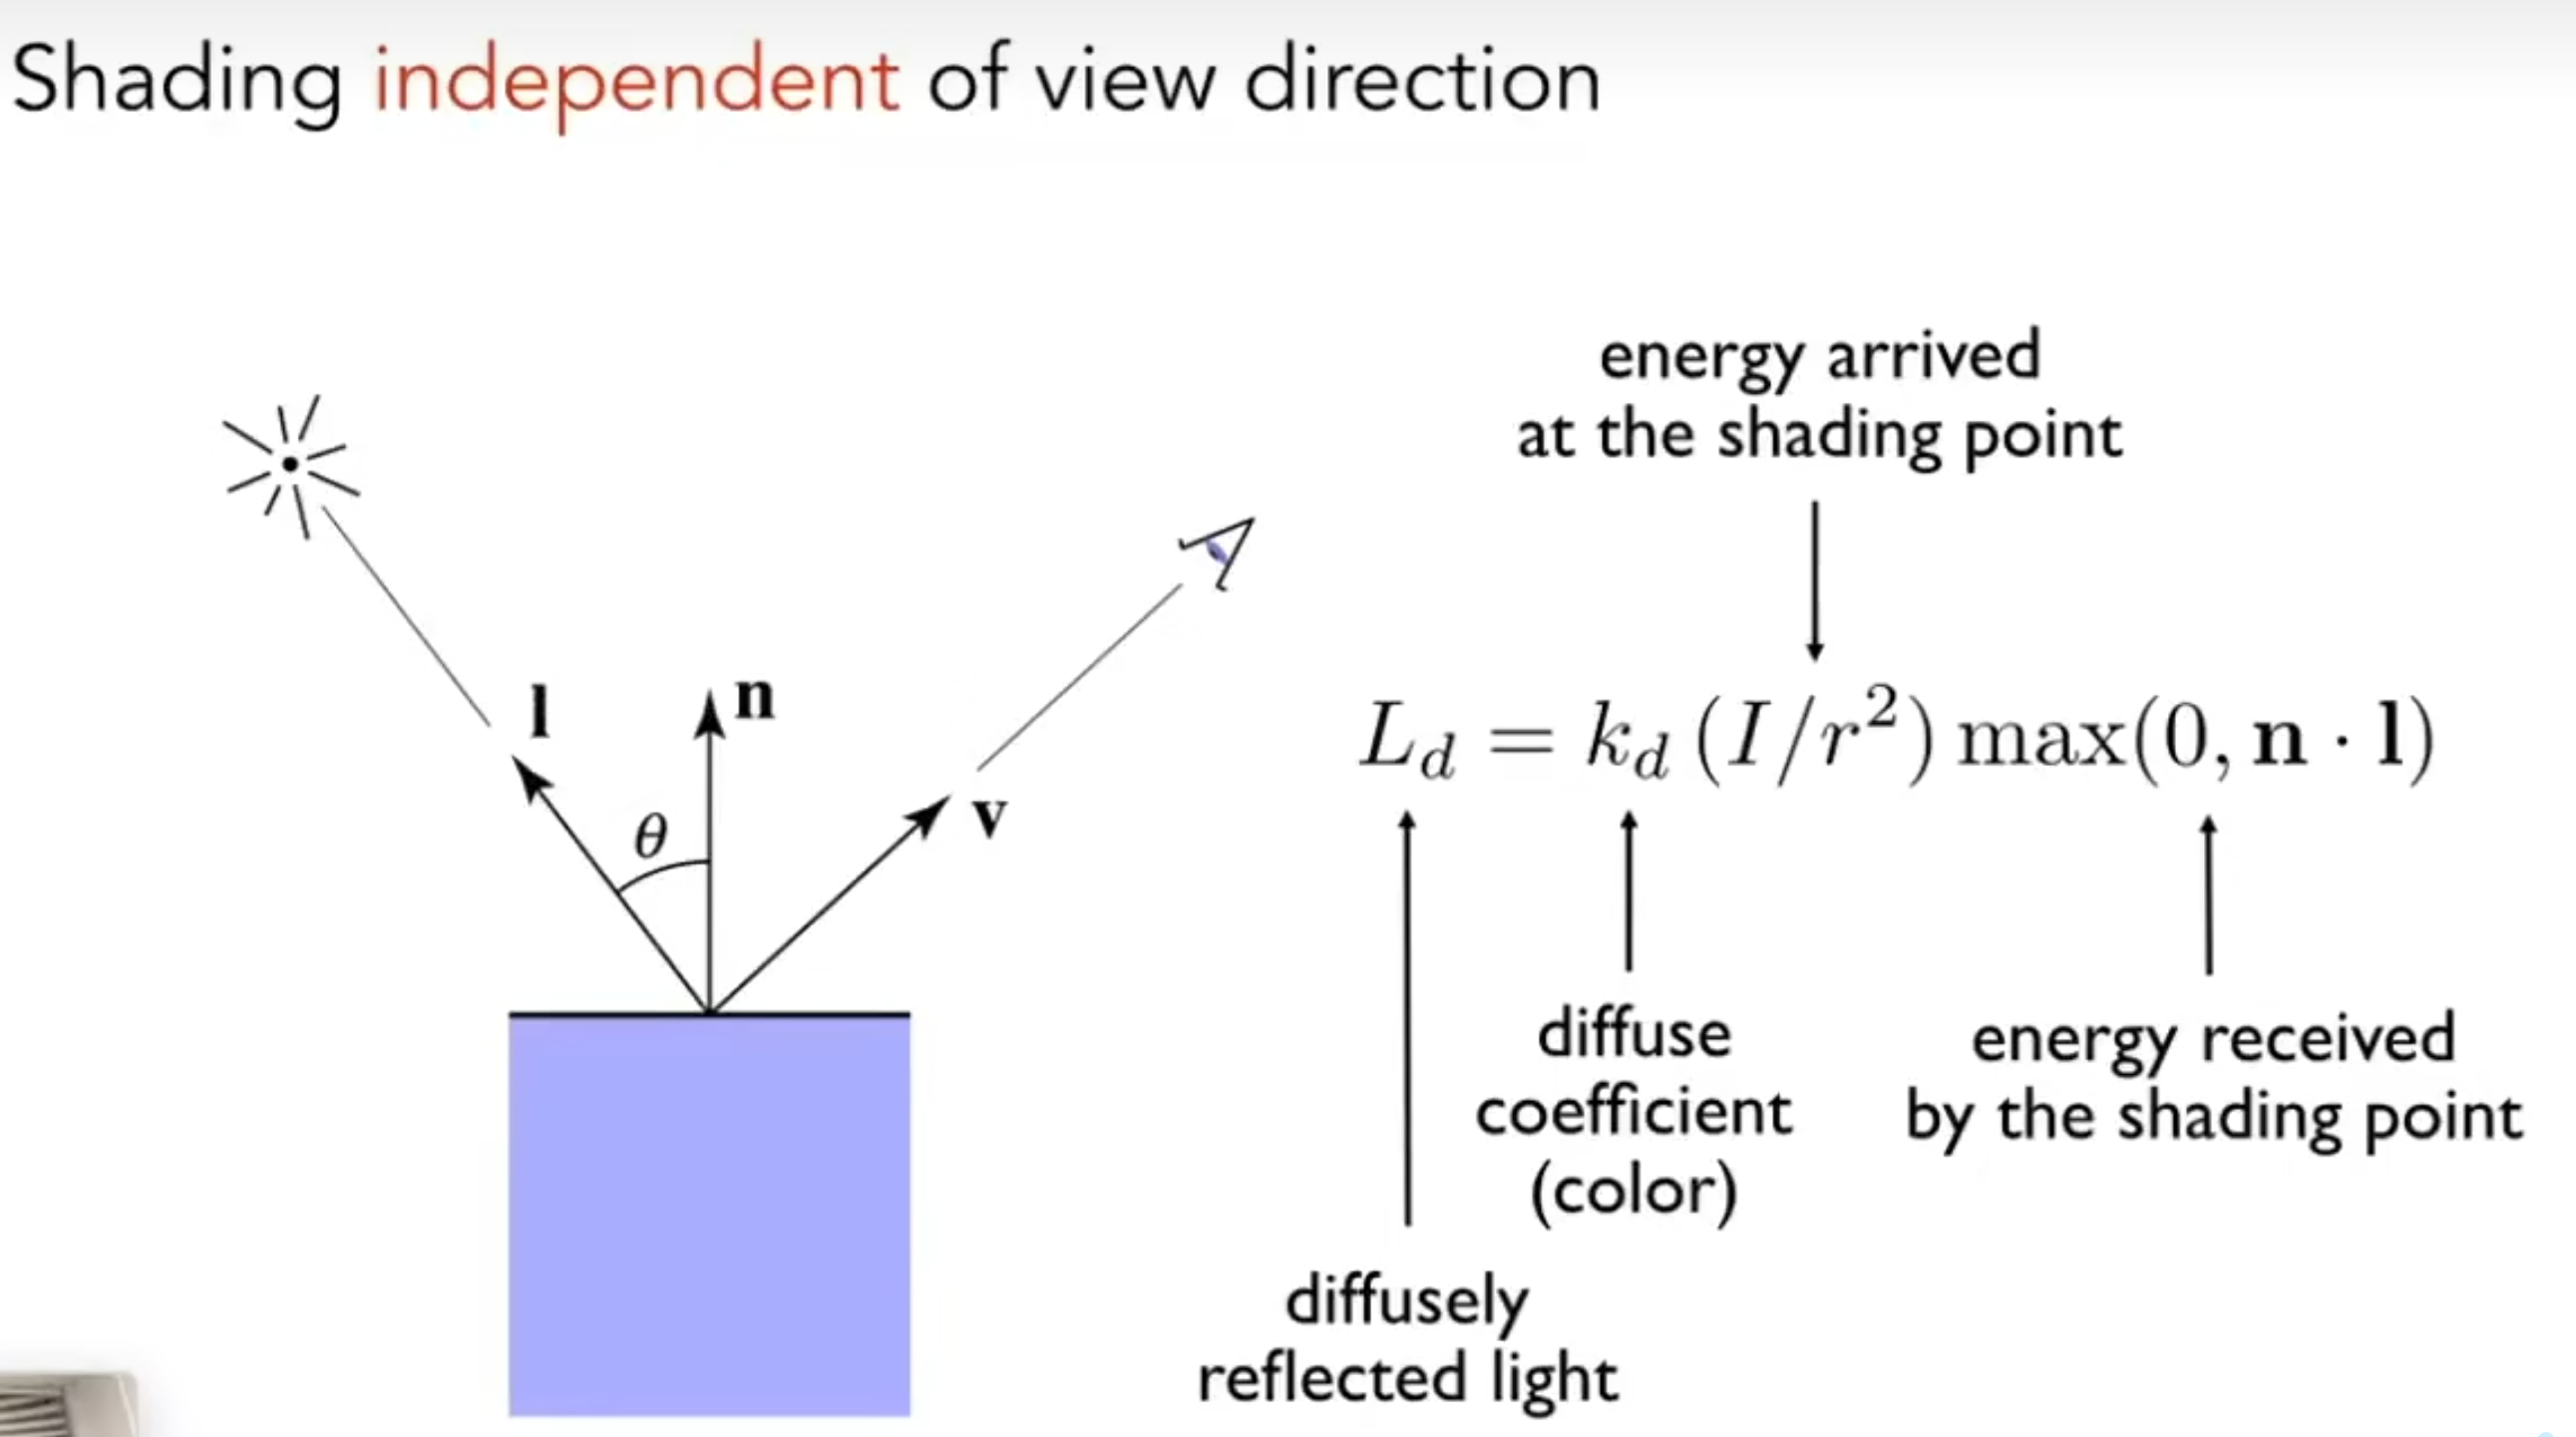
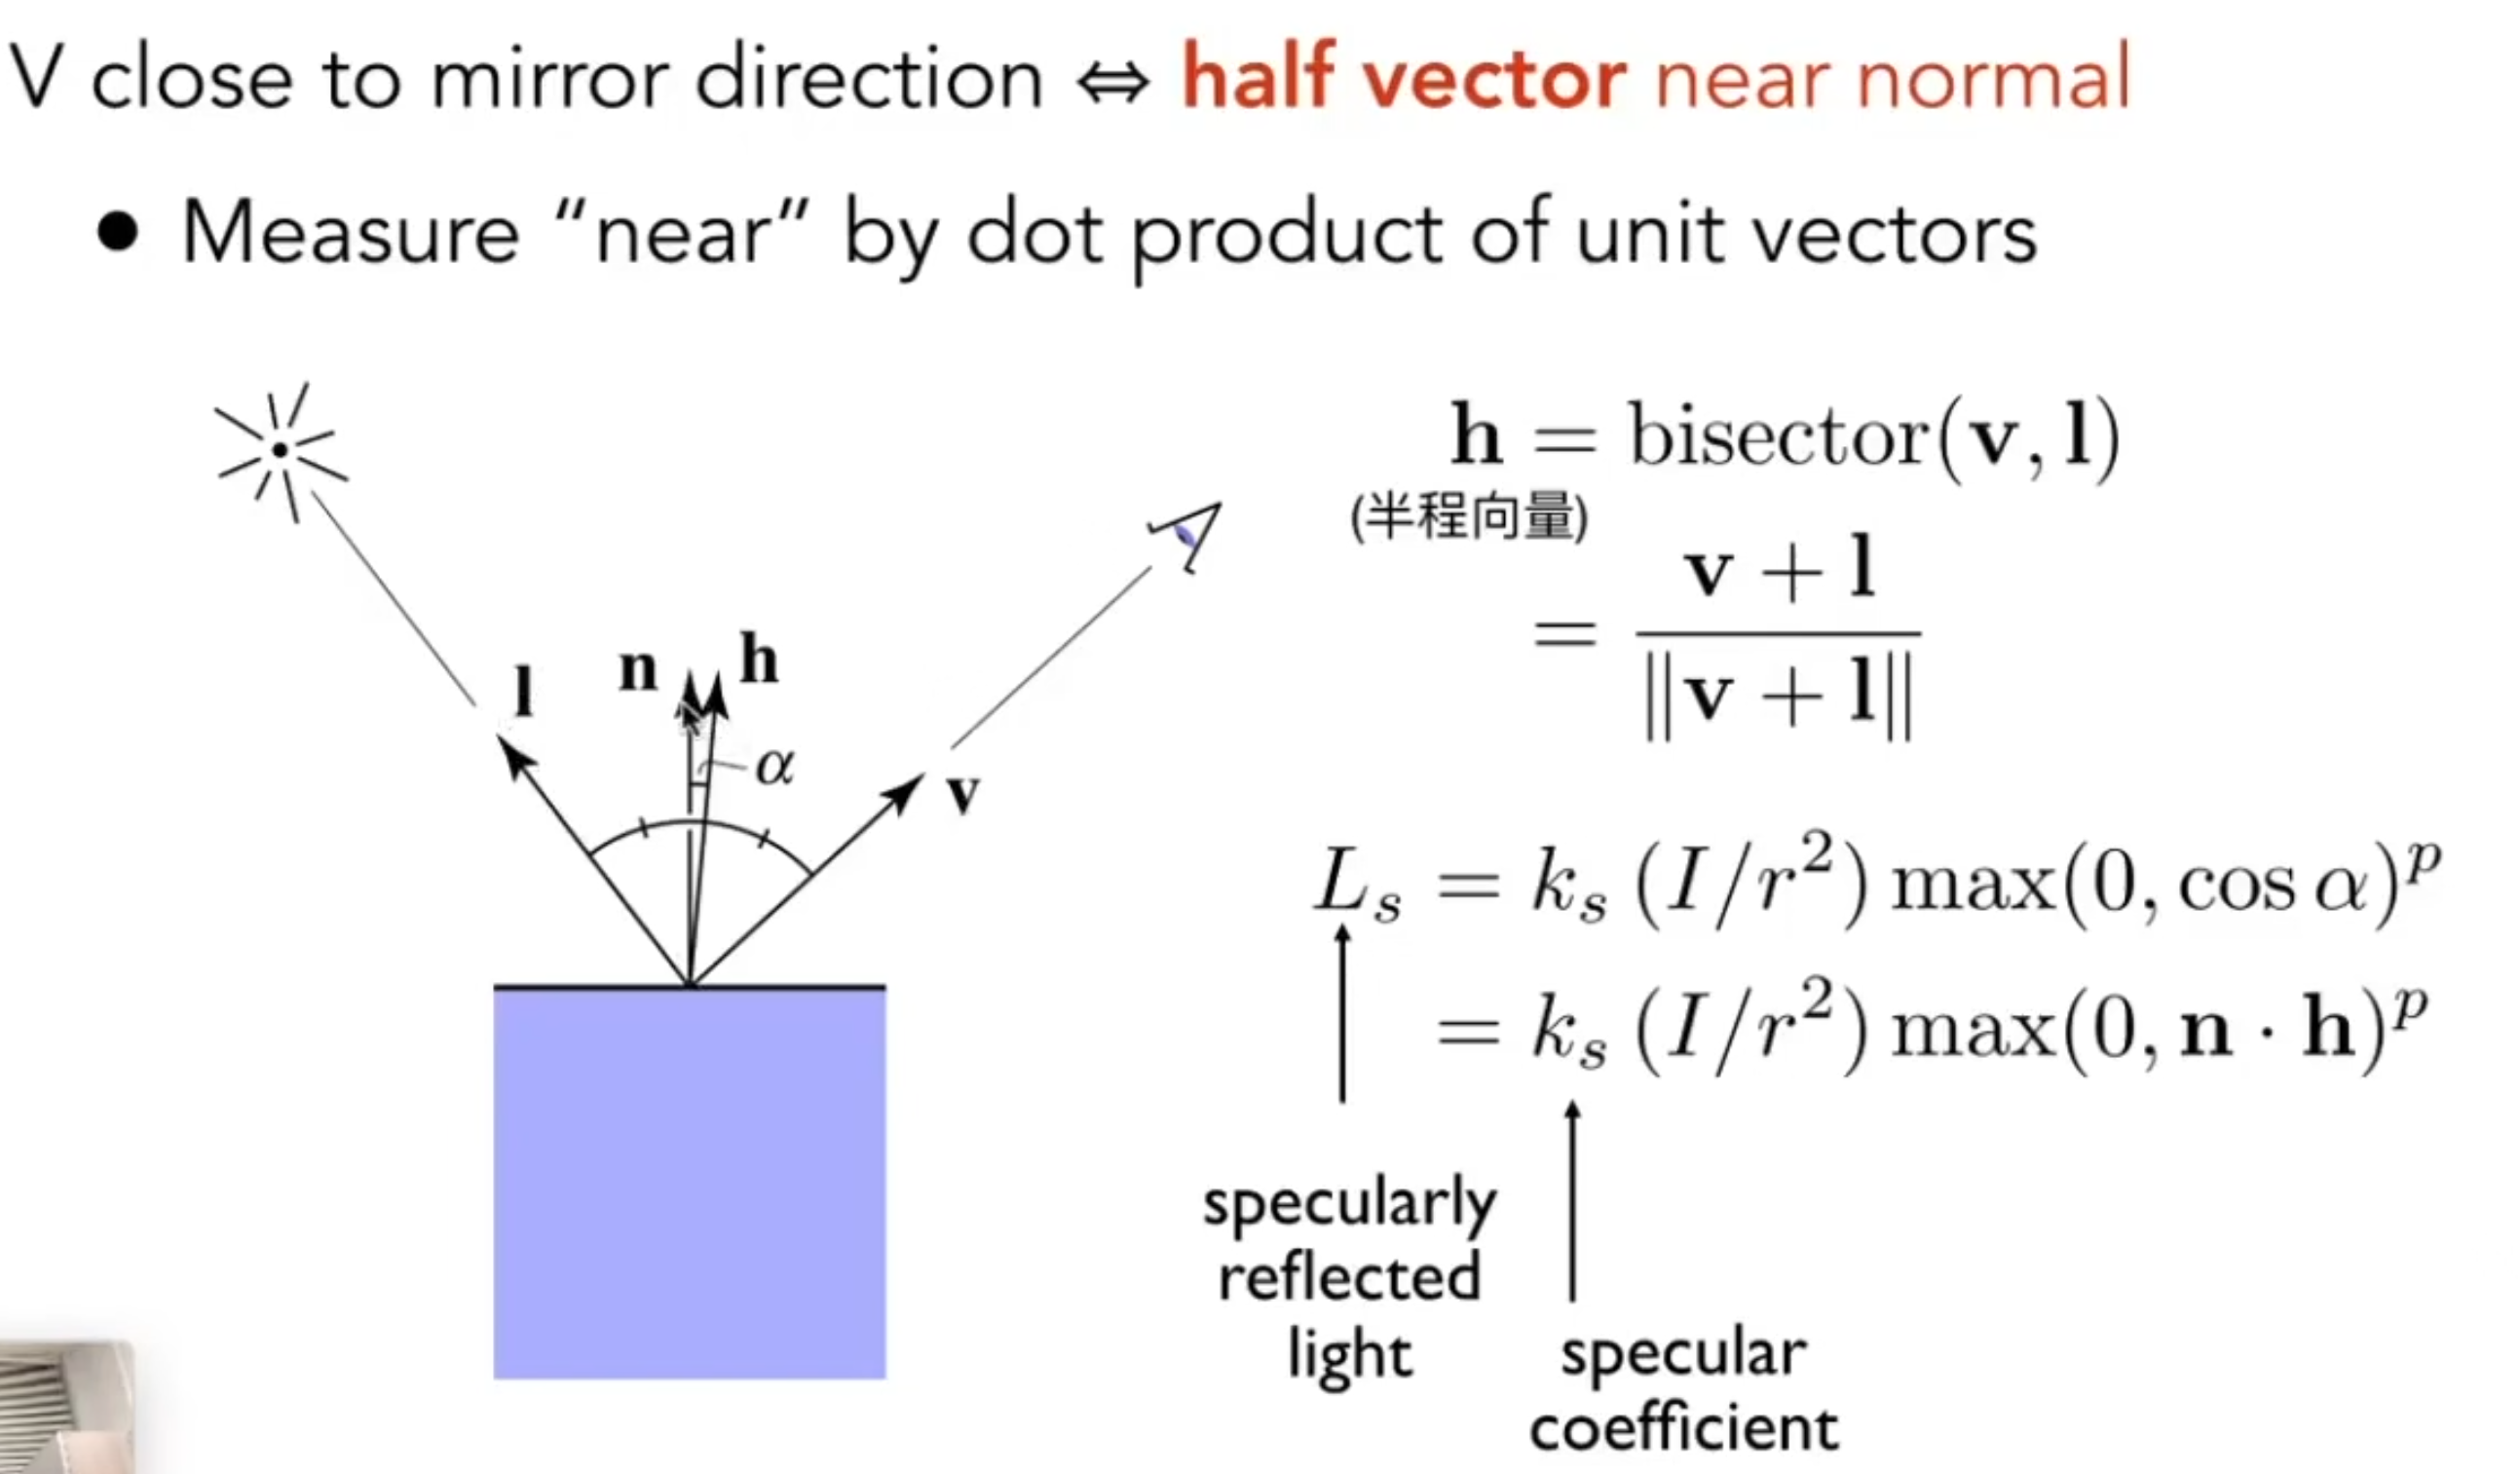
接下来需要实现的是Bline-Pong光照系统,首先来回忆一下Bline-Pong的操作步骤
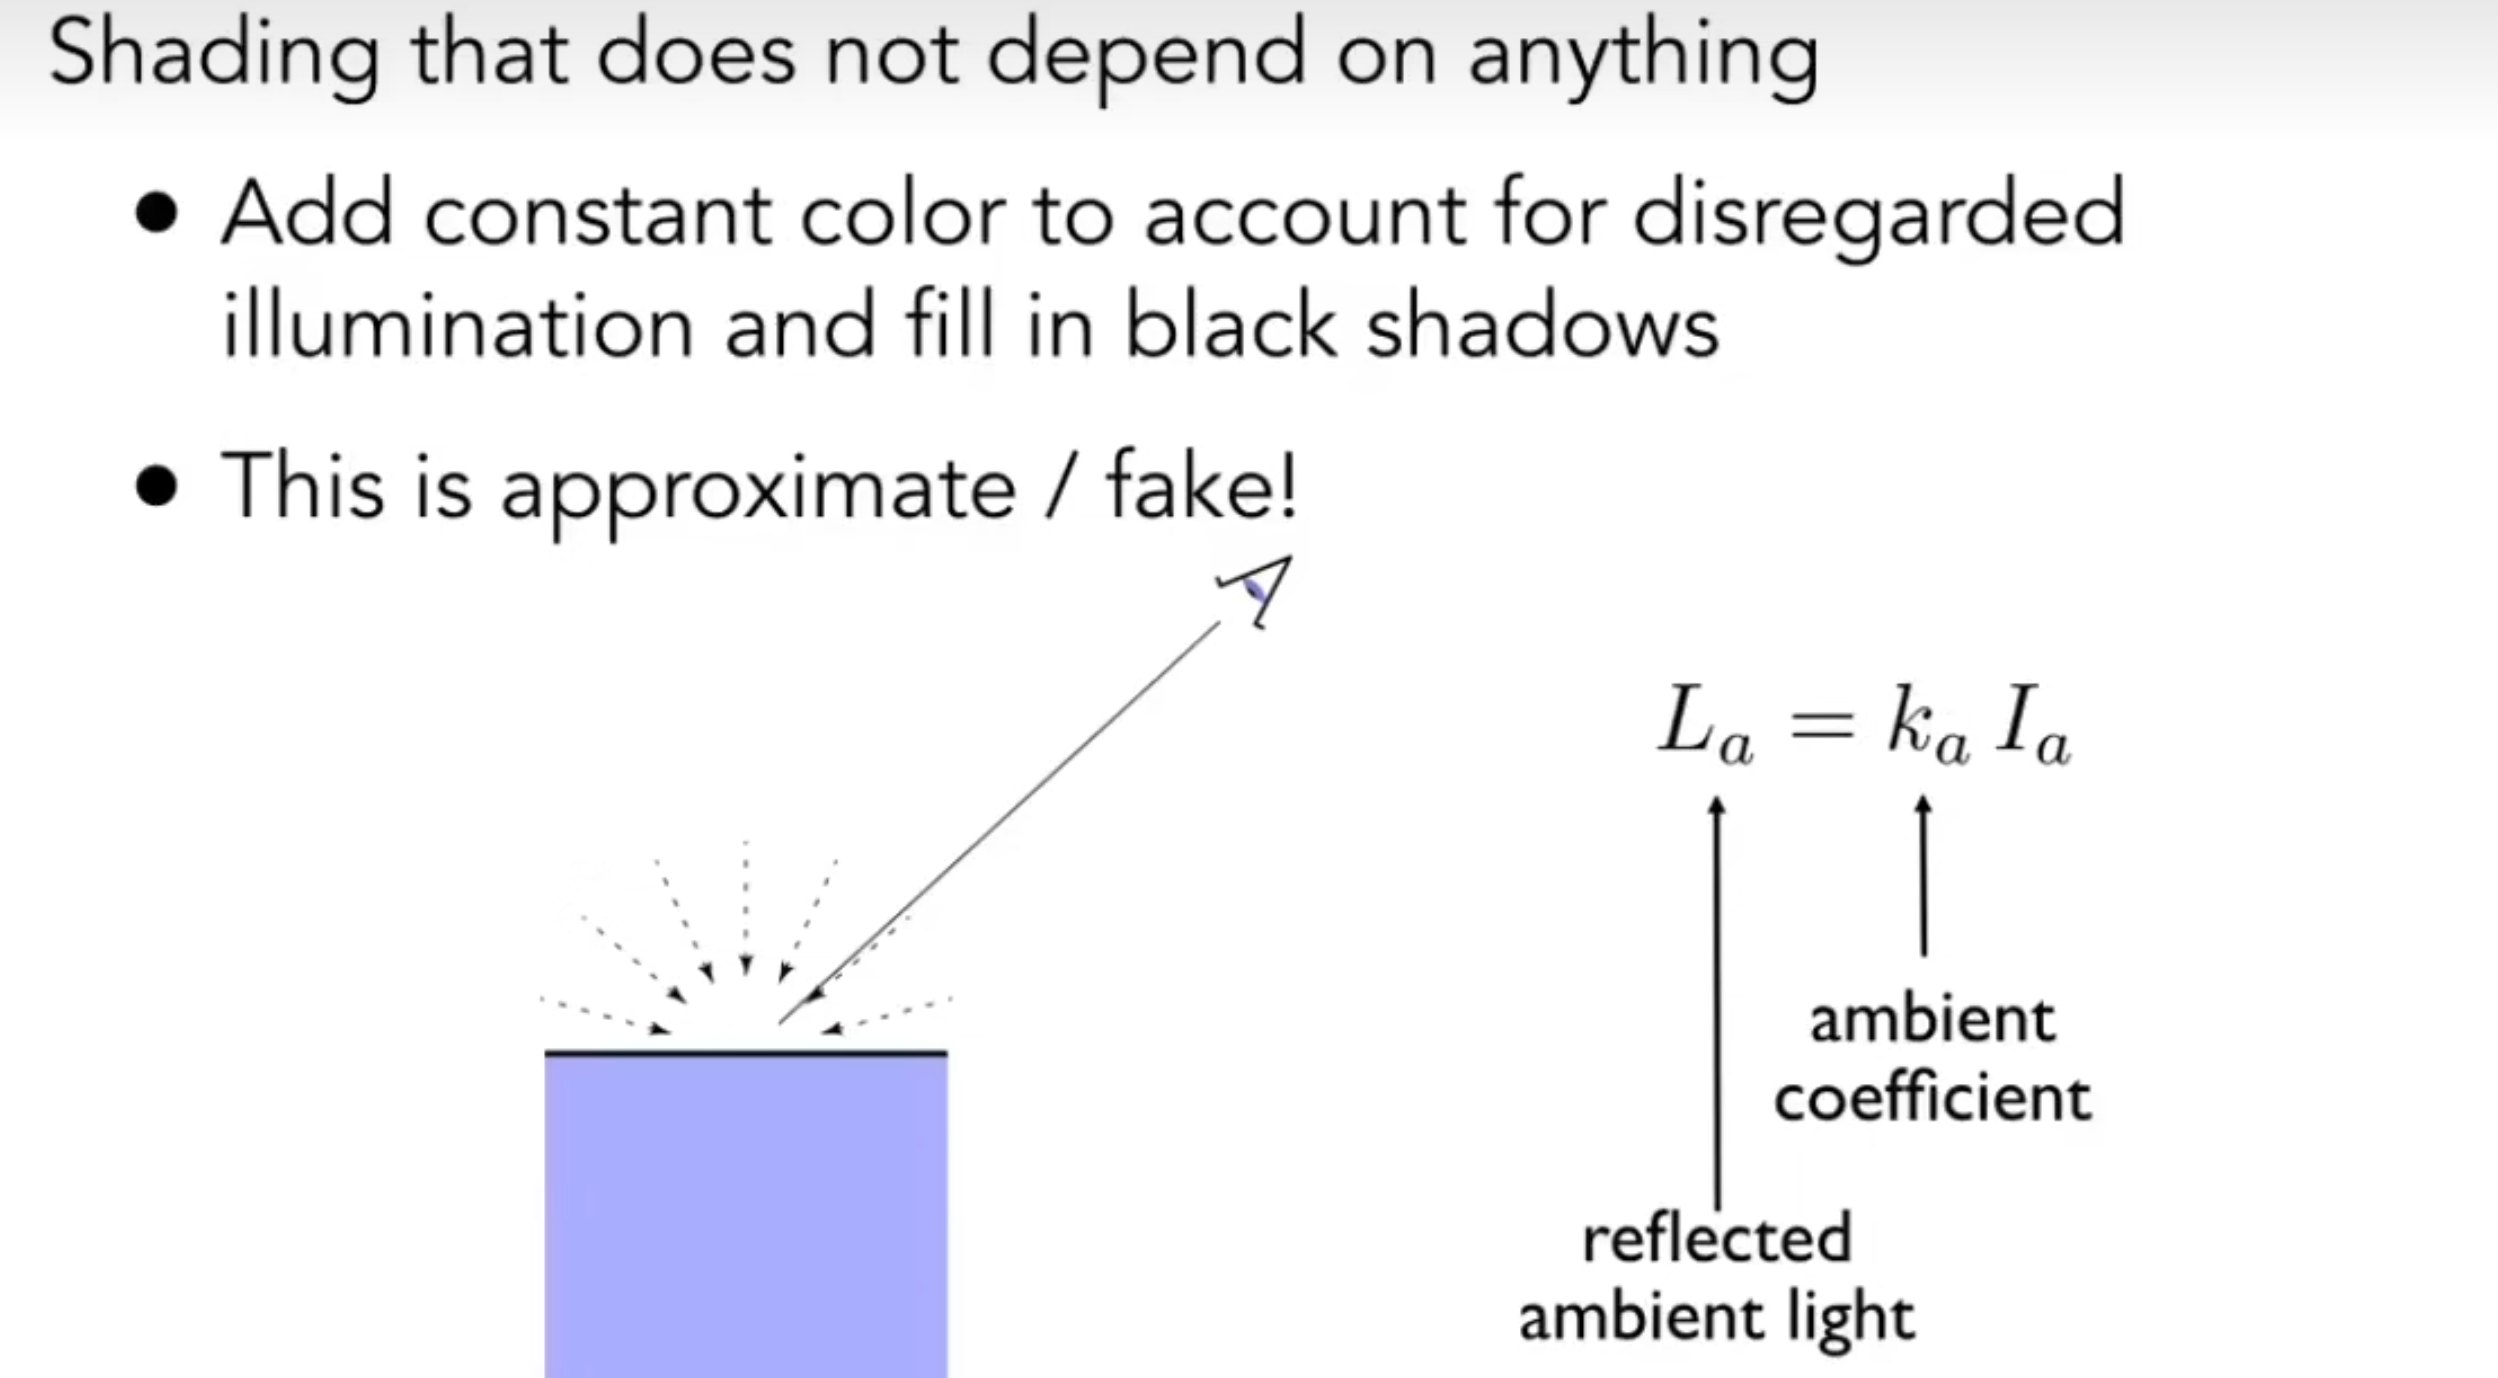
环境色Ambient
漫反射Diffuse
镜面反射Specular
代码实现(看注释)
解释一下一些操作
Eigen::Vector3f::cwiseProduct 返回两个矩阵(向量)同位置的元素分别相乘的新矩阵(向量)。 std::pow(x,n)返回 \(x^n\)
1 2 3 4 5 6 7 8 9 10 11 12 13 14 15 16 float d=LightDir.dot(LightDir);float LdotN=(normal.normalized()).dot(LightDir.normalized());float NdotH=(H.normalized()).dot(normal.normalized());std ::max( LdotN , 0.0f )*kd.cwiseProduct(light.intensity/d);std ::pow (std ::max( NdotH , 0.0f ),150 )*ks.cwiseProduct(light.intensity/d);
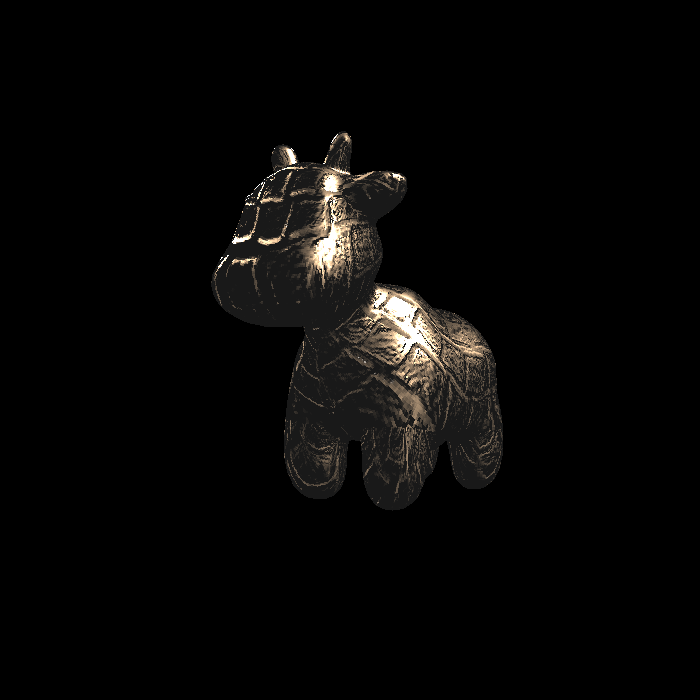
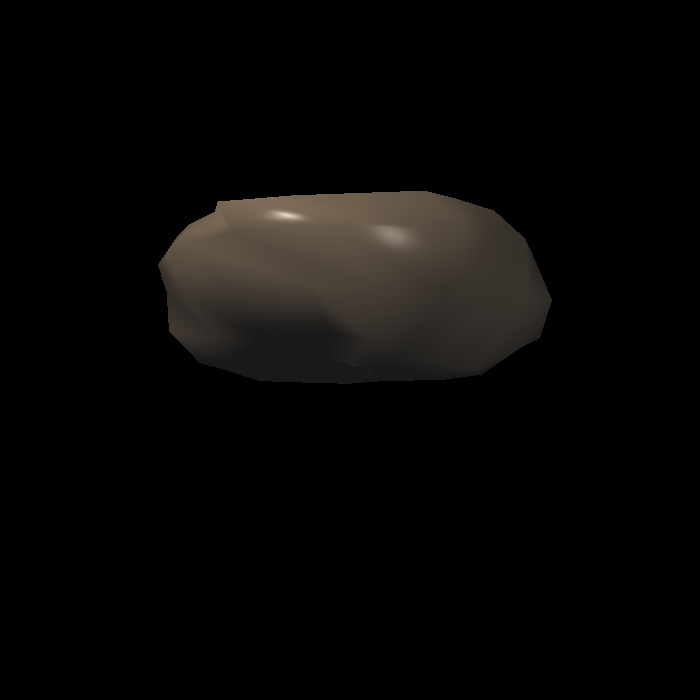
运行 ./Rasterizer phong.png phong
看看,我们的小牛又光滑了许多
texture_fragment_shader() 纹理贴图
在基础任务中,纹理映射只需要在phong的基础上,把颜色换成纹理坐标对应的颜色就好了,在texture类中,框架已经实现了getColor函数,我们只需要在有纹理的时候调用getColor方法获取对应的颜色就好。
1 2 3 4 5 6 7 8 9 10 11 12 13 if (payload.texture)getColor (float u, float v) auto u_img = u * width;auto v_img = (1 - v) * height;auto color = image_data.at<cv::Vec3b>(v_img, u_img);return Eigen::Vector3f(color[0 ], color[1 ], color[2 ]);
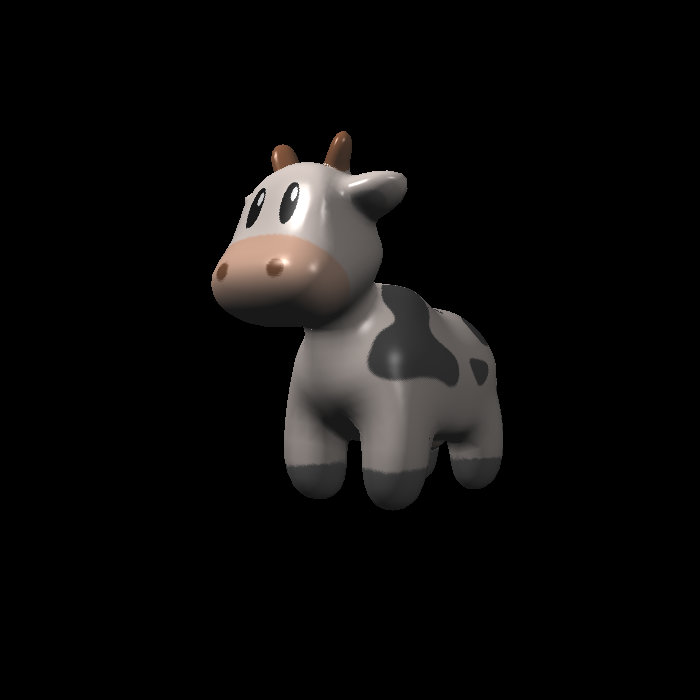
运行./Rasterizer texture.png texture
如果你做对了这一步,那么你make之后使用上面的指令应该能得到这样的结果:
bump_fragment_shader() 凹凸(法线)贴图
这一步天坑,我大概卡在这里改了两个小时的代码,每次跑出来都是段错误!!结果却不是算法问题,我哭死。在我几乎崩溃的时候,还是发现了这个小问题,纹理坐标的在边界的时候可能导致超出1.0,这个时候应该对其进行边界处理,防止数组越界。 关于凹凸贴图的实现,照着提示做就好了,不会有什么问题。
1 2 3 4 5 6 7 8 9 10 11 12 13 14 15 16 17 18 19 20 21 22 23 24 25 26 27 28 29 30 31 32 33 34 35 36 37 38 39 40 41 42 43 44 45 46 47 48 49 50 51 52 53 54 55 56 57 58 59 60 61 62 63 64 65 66 67 float x=normal.x(),y=normal.y(),z=normal.z();sqrt (x*x+z*z),sqrt (x*x+z*z),z*y/sqrt (x*x+z*z));float u=payload.tex_coords.x();float v=payload.tex_coords.y();float w=payload.texture->width;float h=payload.texture->height;float dU = kh * kn * (payload.texture->getColor(u+1 /w,v).norm()-payload.texture->getColor(u,v).norm());float dV = kh * kn * (payload.texture->getColor(u,v+1 /h).norm()-payload.texture->getColor(u,v).norm());1 );0 , 0 , 0 };return result_color * 255.f ;bump_fragment_shader (const fragment_shader_payload& payload) static long int numb=1 ;std ::cout <<"bump_fragment_shader" <<numb++<<std ::endl ;0.005 , 0.005 , 0.005 );0.7937 , 0.7937 , 0.7937 );auto l1 = light{{20 , 20 , 20 }, {500 , 500 , 500 }};auto l2 = light{{-20 , 20 , 0 }, {500 , 500 , 500 }};std ::vector <light> lights = {l1, l2};10 , 10 , 10 };0 , 0 , 10 };float p = 150 ;float kh = 0.2 , kn = 0.1 ;float x=normal.x(),y=normal.y(),z=normal.z();sqrt (x*x+z*z),sqrt (x*x+z*z),z*y/sqrt (x*x+z*z));float u=payload.tex_coords.x();float v=payload.tex_coords.y();float w=payload.texture->width;float h=payload.texture->height;float dU = kh * kn * (payload.texture->getColor(std ::clamp(u+1 /w, 0.0f , 1.0f ),v).norm()-payload.texture->getColor(u,v).norm());float dV = kh * kn * (payload.texture->getColor(u,std ::clamp(v+1 /h, 0.0f , 1.0f )).norm()-payload.texture->getColor(u,v).norm());1 );0 , 0 , 0 };return result_color * 255.f ;
运行./rasterizer bump.png bump
bump.png
displacement_fragment_shader() 位移贴图
位移贴图与凹凸(法线)贴图有所不同,凹凸贴图不会影响网格的实际多边形性质,只会影响在平面上计算光照的方式。位移贴图(常听到的置换贴图有点勉强),可以让模型表面产生一定的位移变化。(注意跟Bump凹凸贴图的区别,它可以实质性地改变模型的面数,而Bump凹凸贴图并没有实质性地改变模型面数)\(^{[1]}\) 那么该怎么做位移贴图呢?最关键的一步就是位移了:
1 point += kn*normal*payload.texture->getColor(u,v).norm();
除了这步,就是一个缝合了法线贴图和phong模型的着色方法。说实话,这里还真不是很懂,但是照着注释做确实能的要想要的结果。
1
2
3
4
5
6
7
8
9
10
11
12
13
14
15
16
17
18
19
20
21
22
23
24
25
26
27
28
29
30
31
32
33
34
35
36
37
38
39
40
41
42
43
44
45
46
47
48
49
50
51
52
53
54
55
56
57
58
59
60
61
62
63
64
65
66
67
68
Eigen::Vector3f displacement_fragment_shader (const fragment_shader_payload& payload) 0.005 , 0.005 , 0.005 );0.7937 , 0.7937 , 0.7937 );auto l1 = light{{20 , 20 , 20 }, {500 , 500 , 500 }};auto l2 = light{{-20 , 20 , 0 }, {500 , 500 , 500 }};std ::vector <light> lights = {l1, l2};10 , 10 , 10 };0 , 0 , 10 };float p = 150 ;float kh = 0.2 , kn = 0.1 ;float x=normal.x(),y=normal.y(),z=normal.z();sqrt (x*x+z*z),sqrt (x*x+z*z),z*y/sqrt (x*x+z*z));float u=payload.tex_coords.x();float v=payload.tex_coords.y();float w=payload.texture->width;float h=payload.texture->height;float dU = kh * kn * (payload.texture->getColor(std ::clamp(u+1 /w,0.f ,1.f ),v).norm()-payload.texture->getColor(u,v).norm());float dV = kh * kn * (payload.texture->getColor(u,std ::clamp(v+1 /h,0.f ,1.f )).norm()-payload.texture->getColor(u,v).norm());1 );0 , 0 , 0 };for (auto & light : lights)float d=LightDir.dot(LightDir);float LdotN=(normal.normalized()).dot(LightDir.normalized());float NdotH=(H.normalized()).dot(normal.normalized());std ::max( LdotN , 0.0f )*kd.cwiseProduct(light.intensity/d);std ::pow (std ::max( NdotH , 0.0f ),150 )*ks.cwiseProduct(light.intensity/d);return result_color * 255.f ;
运行./Rasterizer displacement.png displacement
displacement.png
双线性插值
这个虽然简单,但是我们也来讲一下具体实现: 函数原型如下
1 Eigen::Vector3f getColorBilinear (float u,float v) ;
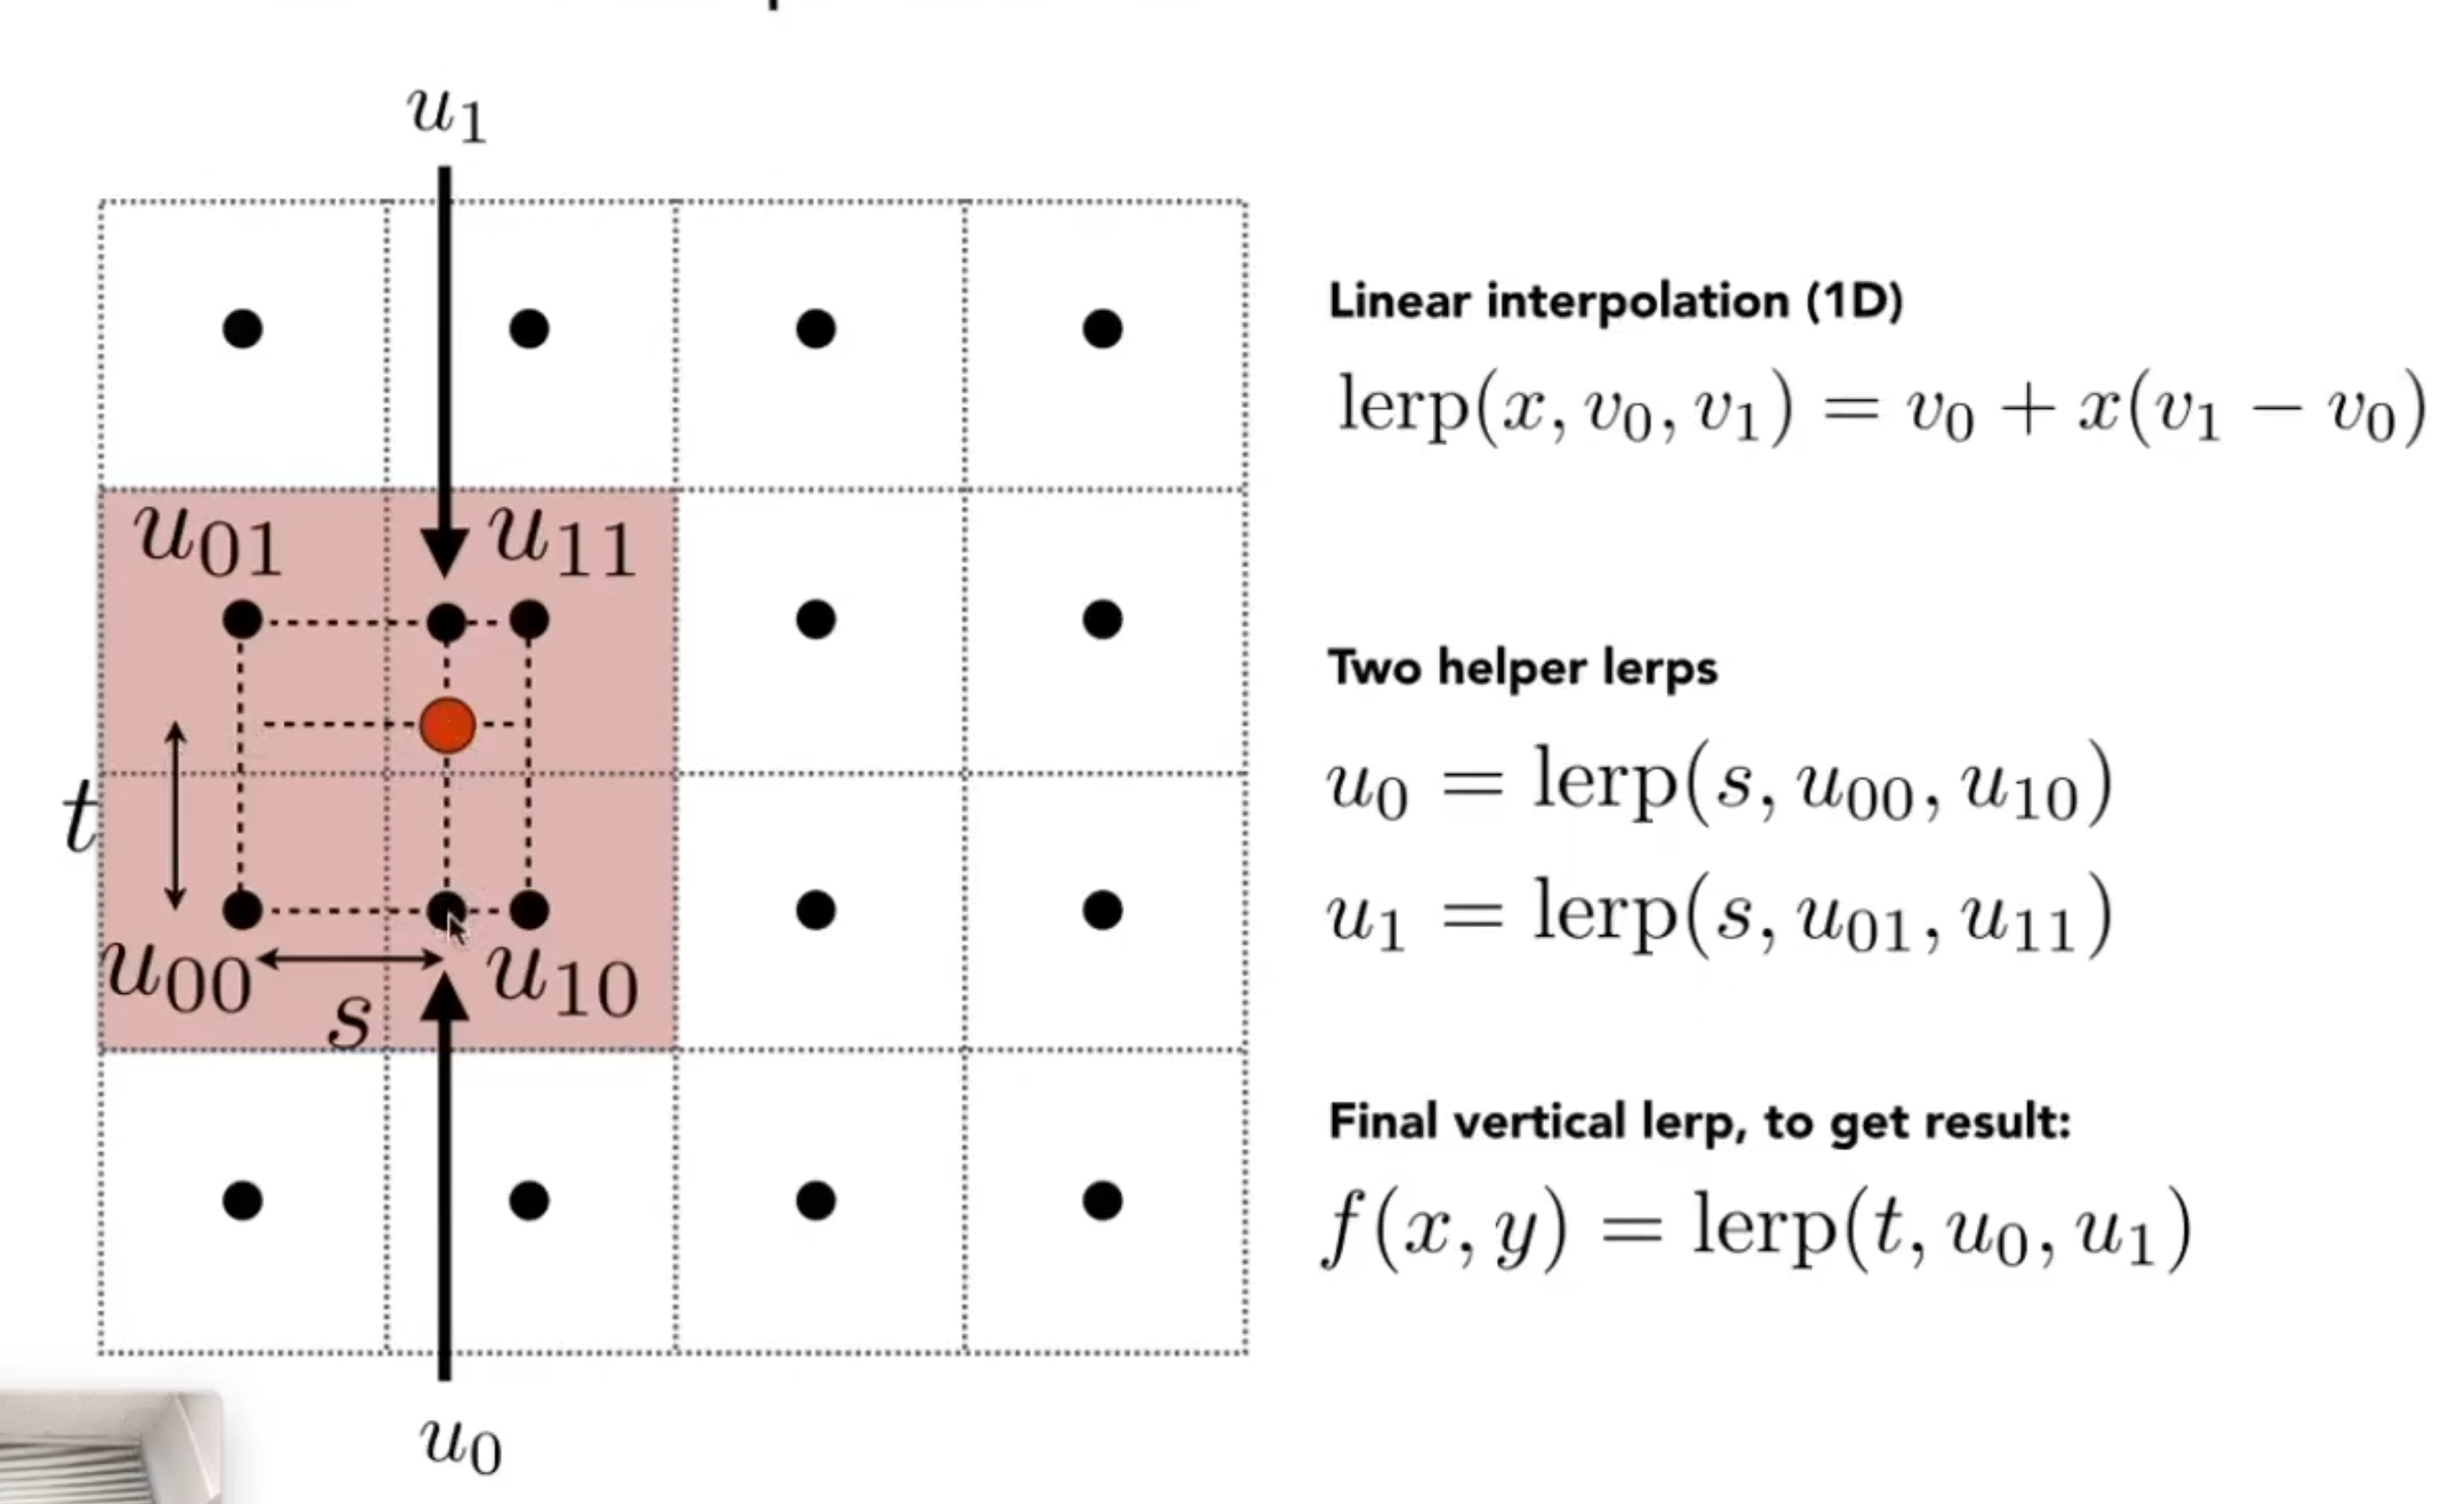
根据下面这张原理图,我们来一步步实现 第一步,将u和v限制在\(0-1\)
1
2
u = std ::clamp(u, 0.0f , 1.0f );std ::clamp(v, 0.0f , 1.0f );
把比例转化为纹理坐标,并计算相邻的四个像素点
1
2
3
4
5
6
auto u_img = u * width;auto v_img = (1 - v) * height;float uMax=std ::min((float )width,std ::ceil (u_img));float uMin=std ::max(0.0f ,std ::floor (u_img));float vMax=std ::min((float )height,std ::ceil (v_img));float vMin=std ::max(0.0f ,std ::floor (v_img));
其中
ceil()向上去整floor()向下取整记录四个点的颜色
1 2 3 4 5 6 7 8 auto colorUL = image_data.at<cv::Vec3b>(vMax,uMin );auto colorUR = image_data.at<cv::Vec3b>(vMax, uMax);auto colorDL = image_data.at<cv::Vec3b>(vMin, uMin);auto colorDR = image_data.at<cv::Vec3b>(vMin, uMax);
单线性插值
1
2
3
4
5
6
float uLerpNum=(u_img-uMin)/(uMax-uMin);float vLerpNum=(v_img-vMin)/(vMax-vMin);auto colorUp_U_Lerp=uLerpNum*colorUL+(1 -uLerpNum)*colorUR;auto colorDown_U_Lerp= uLerpNum*colorDL+(1 -uLerpNum)*colorDR;
再进行一次插值
1 2 auto color = vLerpNum*colorDown_U_Lerp+(1 -vLerpNum)*colorUp_U_Lerp;
并修改texture_fragment_shader中获取材质的语句
1
2
3
4
5
6
7
8
9
10
11
12
13
14
15
16
17
18
19
20
21
22
23
24
25
26
27
28
29
30
31
32
33
34
35
36
37
38
39
40
41
42
43
44
45
46
47
48
49
Eigen::Vector3f texture_fragment_shader (const fragment_shader_payload& payload) 0 , 0 , 0 };if (payload.texture)0.005 , 0.005 , 0.005 );255.f ;0.7937 , 0.7937 , 0.7937 );auto l1 = light{{20 , 20 , 20 }, {500 , 500 , 500 }};auto l2 = light{{-20 , 20 , 0 }, {500 , 500 , 500 }};std ::vector <light> lights = {l1, l2};10 , 10 , 10 };0 , 0 , 10 };float p = 150 ;0 , 0 , 0 };for (auto & light : lights)float d=LightDir.dot(LightDir);float LdotN=(normal.normalized()).dot(LightDir.normalized());float NdotH=(H.normalized()).dot(normal.normalized());std ::max( LdotN , 0.0f )*kd.cwiseProduct(light.intensity/d);std ::pow (std ::max( NdotH , 0.0f ),150 )*ks.cwiseProduct(light.intensity/d);return result_color * 255.f ;
使用其他模型
由于凹凸贴图和位移贴图是需要法线贴图的,所以只有spot模型(小牛)是可以进行的,其他的模型都进行不料,那么我们就不做了。但是我在做纹理映射的时候,大抵是发生了奇怪的事情,没有办法很好的作出纹理贴图。那我摆栏了,效果如下:挺差的,我也解决不了了 我自己做了一些指令,具体如下:
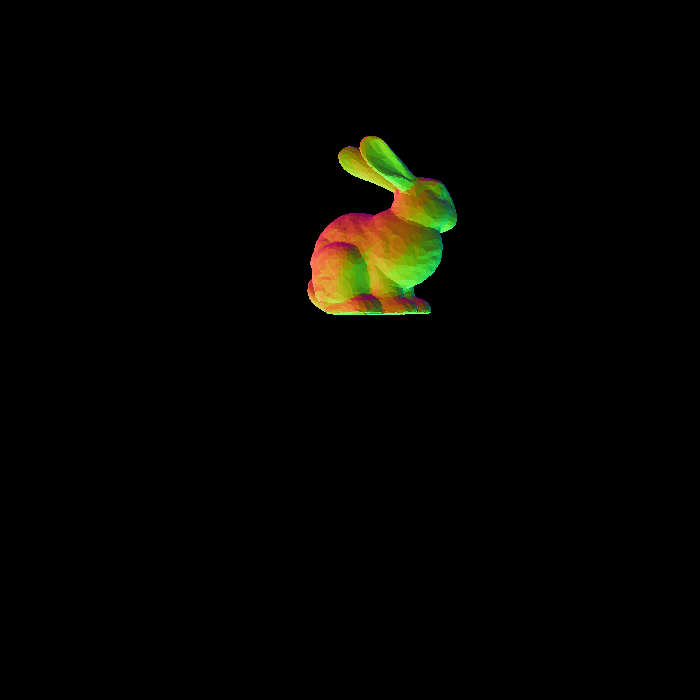
bunny
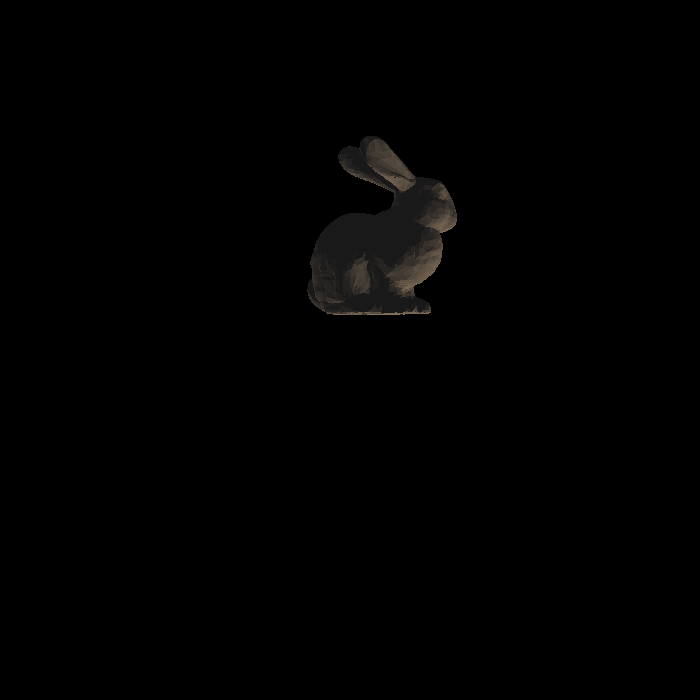
./Rasterizer \- normal bunny 2./Rasterizer \- phong bunny 2
Crate
./Rasterizer \- normal crate具体为什么画出来这个样子我也不清楚,搞了一下午,摆栏了 ./Rasterizer \- phong crate我本来以为是因为摄像机的位置,然后我调整了摄像机的位置,又画出了这样的图片:这下没办法了 ./Rasterizer \- phong crate 20./Rasterizer \- texture crate贴图也不知道为什么非常奇怪,罢了罢了
cube
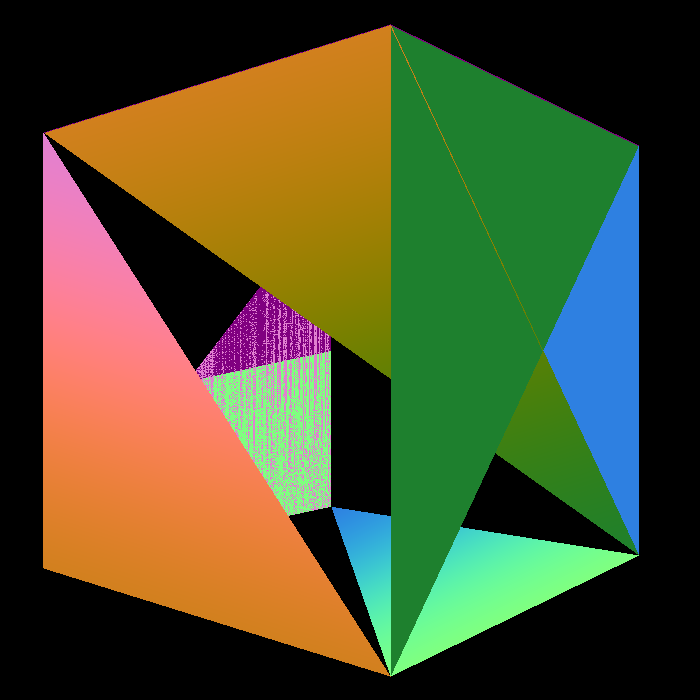
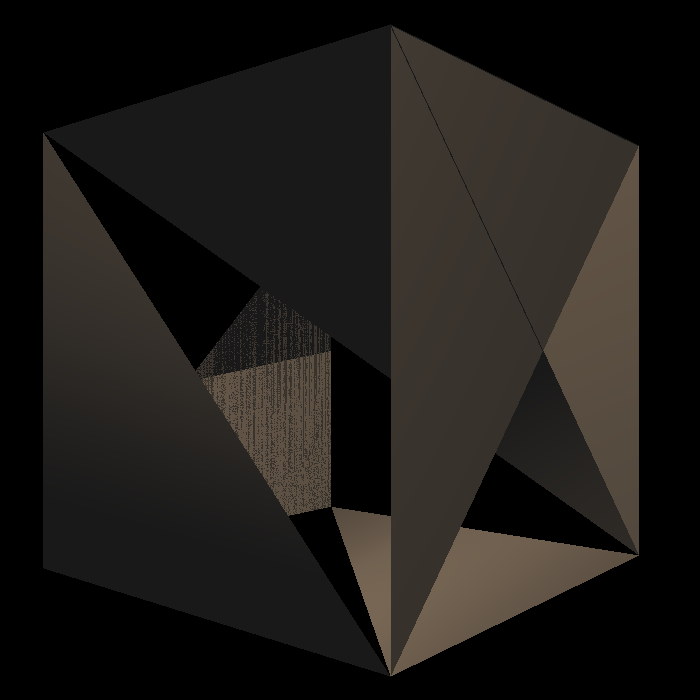
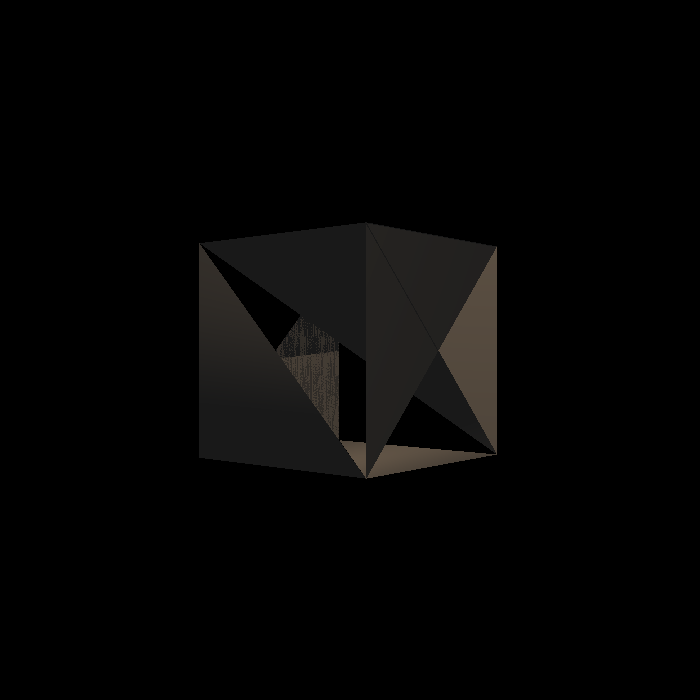
./Rasterizer \- normal cube还可以移动摄像机到(0,0,-10)去看看 (其实这个成像是错误的,因为只是移动了eye_pos,深度信息的计算并没有重新计算,所以深度还是以(0,0,10)来计算的。看到图像就很奇怪) ./Rasterizer \- normal cube \-10./Rasterizer \- phong cube./Rasterizer \- texture cube就乐呵乐呵吧
rock
./Rasterizer \- normal rock 20rock这个模型,如果用10的话,会超出视口范围,但是getIndex函数并没有对其进行该有的操作,导致会出现段错误,这里调远摄像机的位置来防止出现段错误。
1
2
3
4
int rst::rasterizer::get_index(int x, int y)return (height-y)*width + x;
./Rasterizer \- phong rock 20./Rasterizer \- texture rock 20
main函数源代码
1
2
3
4
5
6
7
8
9
10
11
12
13
14
15
16
17
18
19
20
21
22
23
24
25
26
27
28
29
30
31
32
33
34
35
36
37
38
39
40
41
42
43
44
45
46
47
48
49
50
51
52
53
54
55
56
57
58
59
60
61
62
63
64
65
66
67
68
69
70
71
72
73
74
75
76
77
78
79
80
81
82
83
84
85
86
87
88
89
90
91
92
93
94
95
96
97
98
99
100
101
102
103
104
105
106
107
108
109
110
111
112
113
114
115
116
117
118
119
120
121
122
123
124
125
126
127
128
129
130
131
132
133
134
135
136
137
138
139
140
141
142
143
144
145
146
147
148
149
150
151
152
153
154
155
156
157
158
159
160
161
162
163
164
165
166
167
168
169
170
int main (int argc, const char ** argv) vector <string > model_list,shader_list;if (argc==2 &&std ::string (argv[1 ])=="--help" ){std ::cout <<"The first data is output file name or a '-' to defult it" <<std ::endl <<"The second data is shader mode such as : normal phong texture nump displacement" <<std ::endl <<"The Thired data is optional which you can choose whatever model you want :spot cate bunny cube rock " <<std ::endl <<"The fourth data is optional you can change your eye's axis z,in range(2,50)" std ::endl ;return 0 ;std ::vector <Triangle*> TriangleList;float angle = 140.0 ;bool command_line = false ;std ::string model_name ("spot" ) ,shader_name;std ::string filename = "output.png" ;std ::string obj_path = "../models" ;r (700 , 700 ) ; std ::string texture_path;bool loadout =false ;"/spot/hmap.jpg" ;if (argc <= 3 )"../models/spot/spot_triangulated_good.obj" );else if (argc>=4 ){if (std ::string (argv[3 ])=="rock" ){"../models/rock/rock.obj" );"/rock/rock.png" ;else if (std ::string (argv[3 ])=="cube" ){"../models/cube/cube.obj" );"/cube/wall.tif" ;else if (std ::string (argv[3 ])=="bunny" ){"../models/bunny/bunny.obj" );else if (std ::string (argv[3 ])=="crate" ){"../models/Crate/Crate1.obj" );"/Crate/crate_1.jpg" ;else if (std ::string (argv[3 ])=="spot" ){"../models/spot/spot_triangulated_good.obj" );std ::cout <<"Model Load succes" <<std ::endl ;"/spot/hmap.jpg" ;std ::cout <<"Model is " <<argv[3 ]<<std ::endl ;3 ];if (argc==3 ||argc>=4 &&string (argv[3 ])=="spot" )for (auto mesh : Loader.LoadedMeshes)for (int i = 0 ; i < mesh.Vertices.size(); i += 3 )for (int j = 0 ; j < 3 ; j++)1.0 ));std ::function<Eigen::Vector3f(fragment_shader_payload)> active_shader = phong_fragment_shader;if (argc >= 2 )true ;std ::string (argv[1 ]);if (argc>=3 )shader_name=argv[2 ];if (argc >= 3 && std ::string (argv[2 ]) == "texture" )std ::cout << "Rasterizing using the texture shader\n" ;if (argc >=4 && argv[3 ]=="spot" ||argc==3 ){"/spot/spot_texture.png" ;else if (argc >= 3 && std ::string (argv[2 ]) == "normal" )std ::cout << "Rasterizing using the normal shader\n" ;else if (argc >= 3 && std ::string (argv[2 ]) == "phong" )std ::cout << "Rasterizing using the phong shader\n" ;else if (argc >= 3 && std ::string (argv[2 ]) == "bump" )if (model_name!="spot" ){std ::cout <<"There is no normal texture!" <<std ::endl ;return 0 ;else {std ::cout << "Rasterizing using the bump shader\n" ;else if (argc >= 3 && std ::string (argv[2 ]) == "displacement" )if (model_name!="spot" ){std ::cout <<"There is no normal texture!" <<std ::endl ;return 0 ;else {std ::cout << "Rasterizing using the bump shader\n" ;float eye_z=10 ;if (argc>=5 )eye_z=std ::stoi(argv[4 ]);0 ,0 ,eye_z};int key = 0 ;int frame_count = 0 ;if (command_line)if (std ::string (argv[1 ])=="-" ){"_" +shader_name+"_" +std ::to_string(int (eye_z))+".png" ;45.0 , 1 , 0.1 , 50 ));std ::cout <<"Before Draw" <<std ::endl ;std ::cout <<"After Draw shader with " <<shader_name<<std ::endl ;image (700 , 700 , CV_32FC3, r.frame_buffer().data()) ;1.0f );return 0 ;while (key != 27 )45.0 , 1 , 0.1 , 50 ));image (700 , 700 , CV_32FC3, r.frame_buffer().data()) ;1.0f );"image" , image);10 );if (key == 'a' )0.1 ;else if (key == 'd' )0.1 ;return 0 ;
引用
\({[1]}\) 【Blender】 详解 凹凸贴图 Bump/Normal/Displacement 三者的区别
代码合集
代码有些多,我就直接放github了。 zhywyt-github
下/上一篇
下一篇:Bezier曲线的绘制 上一篇:图形填充
2023-10-18
鸽了这么久又回来写101的框架解读了
框架解读
新增文件一览
1 2 3 4 #include "global.hpp" #include "Shader.hpp" #include "Texture.hpp" #include "OBJ_Loader.h"
