本文最后更新于 2024-10-22T11:39:05+00:00
Games101 HomeWork6
导航
导航
作业要求
IntersectP(const Ray& ray, const Vector3f& invDir,const std::array<int, 3>& dirIsNeg) in the Bounds3.hpp: 这个函数的作用是判断包围盒BoundingBox 与光线是否相交,你需要按照课程介绍的算法实现求交过程。getIntersection(BVHBuildNode* node, const Ray ray)in BVH.cpp: 建立BVH 之后,我们可以用它加速求交过程。该过程递归进行,你将在其中调用你实现的Bounds3::IntersectP。
前置要求
Render() in Renderer.cpp: 将你的光线生成过程粘贴到此处,并且按照新框架更新相应调用的格式。Triangle::getIntersection in Triangle.hpp: 将你的光线-三角形相交函数
Render()
新框架里把光线写成了一个类,castRay的参数列表也改成了这样:
1 Vector3f castRay (const Ray &ray, int depth) const ;
Ray类中的部分代码如下,我只保留了这些有用的代码:
1
2
3
4
5
6
7
8
9
10
11
12
13
struct Ray {double t;double t_min, t_max;const Vector3f& ori, const Vector3f& dir, const double _t = 0.0 ): origin(ori), direction(dir),t(_t ) {1. /direction.x, 1. /direction.y, 1. /direction.z);0.0 ;std ::numeric_limits<double >::max();operator () (double t) const {return origin+direction*t;}
初始化一个Ray类对象需要一个起点点和一个向量,我们也可以使用ray(t)来直接访问某点的坐标。知道这些之后,我们就可以完成Render的实现:
1 2 3 4 5 6 7 8 9 10 11 12 13 14 15 16 17 for (uint32_t j = 0 ; j < scene.height; ++j) {for (uint32_t i = 0 ; i < scene.width; ++i) {float x = (2 * (i + 0.5 ) / (float )scene.width - 1 ) *float y = (1 - 2 * (j + 0.5 ) / (float )scene.height) * scale;-1 )); 0 );float )scene.height);
Triangle::getIntersection()
这个函数进行的操作是,在一个三角形对象中判断一根光线是否与自己相交。下图是Triangle类的数据成员声明,它继承了抽象类Object类,但是Object中没有任何数据成员,这个不用关心。可以看到三角形保存了点、边、和法线等等
1 2 3 4 5 6 7 8 9 10 class Triangle :
在getIntersection中,我们需要返回的是一个intersection也就是碰撞体,看一下intersection类的声明:
1 2 3 4 5 6 7 8 9 10 11 12 13 14 15 16 17 18 struct Intersection { false ;std ::numeric_limits<double >::max();bool happened;double distance;
可以看到,如果没有发生碰撞,我们不需要对inter做任何操作,发生了碰撞,我们需要设置它的纹理坐标、法线、光路长度、模型指针、物体指针。这些在三角形对象中都有,检测之后一一设置就好了。
1 2 3 4 5 6 7 8 9 if (t_tmp<0 )return inter;true ;return inter;
普通要求
IntersectP()
这个函数需要我们完成光线与包围盒的求交判断。
1
2
3
4
5
6
7
Vector3f t_minTemp=(pMin-ray.origin)*invDir;float t_enter=std ::max(t_min.x,std ::max(t_min.y,t_min.z));float t_out=std ::min(t_max.x,std ::min(t_max.y,t_max.z));
先计算进入盒子的时间和出盒子的时间,然后返回判断条件的真假就好了
1
2
3
if (t_out>=0.0f &&t_enter<=t_out)return true ;return false ;
getIntersection()
要求建立BVH ,我们可以用它加速求交过程。 还记得么?包围盒是以二叉树的形式存储的,就像这样: 对一个包围盒,我们需要检查该包围盒是否与光线相交,如果有,那么判断这个包围盒是否存在子叶,如果有,检查递归检查子叶是否与光线有交点,直到这个包围盒不与光线相交;或者该包围盒不再存在子叶,则判断这个物体是否与光线相交。代码实现如下:
1
2
3
4
5
6
7
8
9
10
11
12
13
14
15
16
17
18
19
20
21
22
23
Intersection BVHAccel::getIntersection (BVHBuildNode* node, const Ray& ray) const invdir (1. /ray.direction.x,1. /ray.direction.y,1. /ray.direction.z) ;std ::array <int , 3 > dirIsNeg;0 ] = ray.direction.x>0 ;1 ] = ray.direction.y>0 ;2 ] = ray.direction.z>0 ;if (!node || !node->bounds.IntersectP(ray,ray.direction_inv,dirIsNeg))return intersect;if (!node->right && !node->left)return node->object->getIntersection(ray);return isect1.distance < isect2.distance ? isect1:isect2;
运行./RayTracing
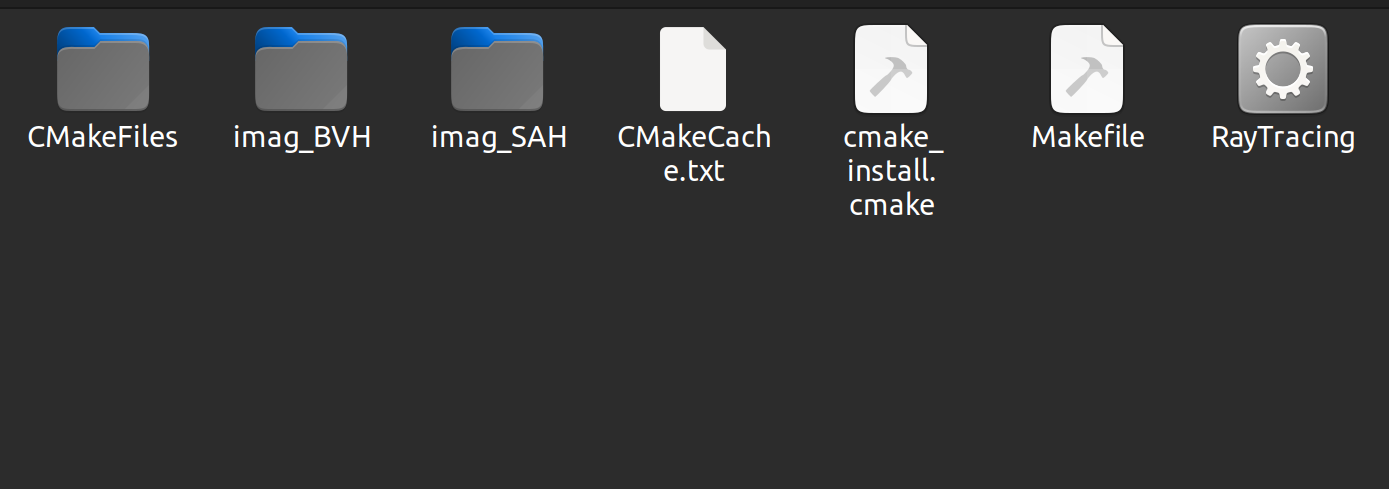
注意!运行前,请确保你的/build目录下有imag_BVH和imag_SAH目录,我把生成的图片放在里面了!!! 像这样
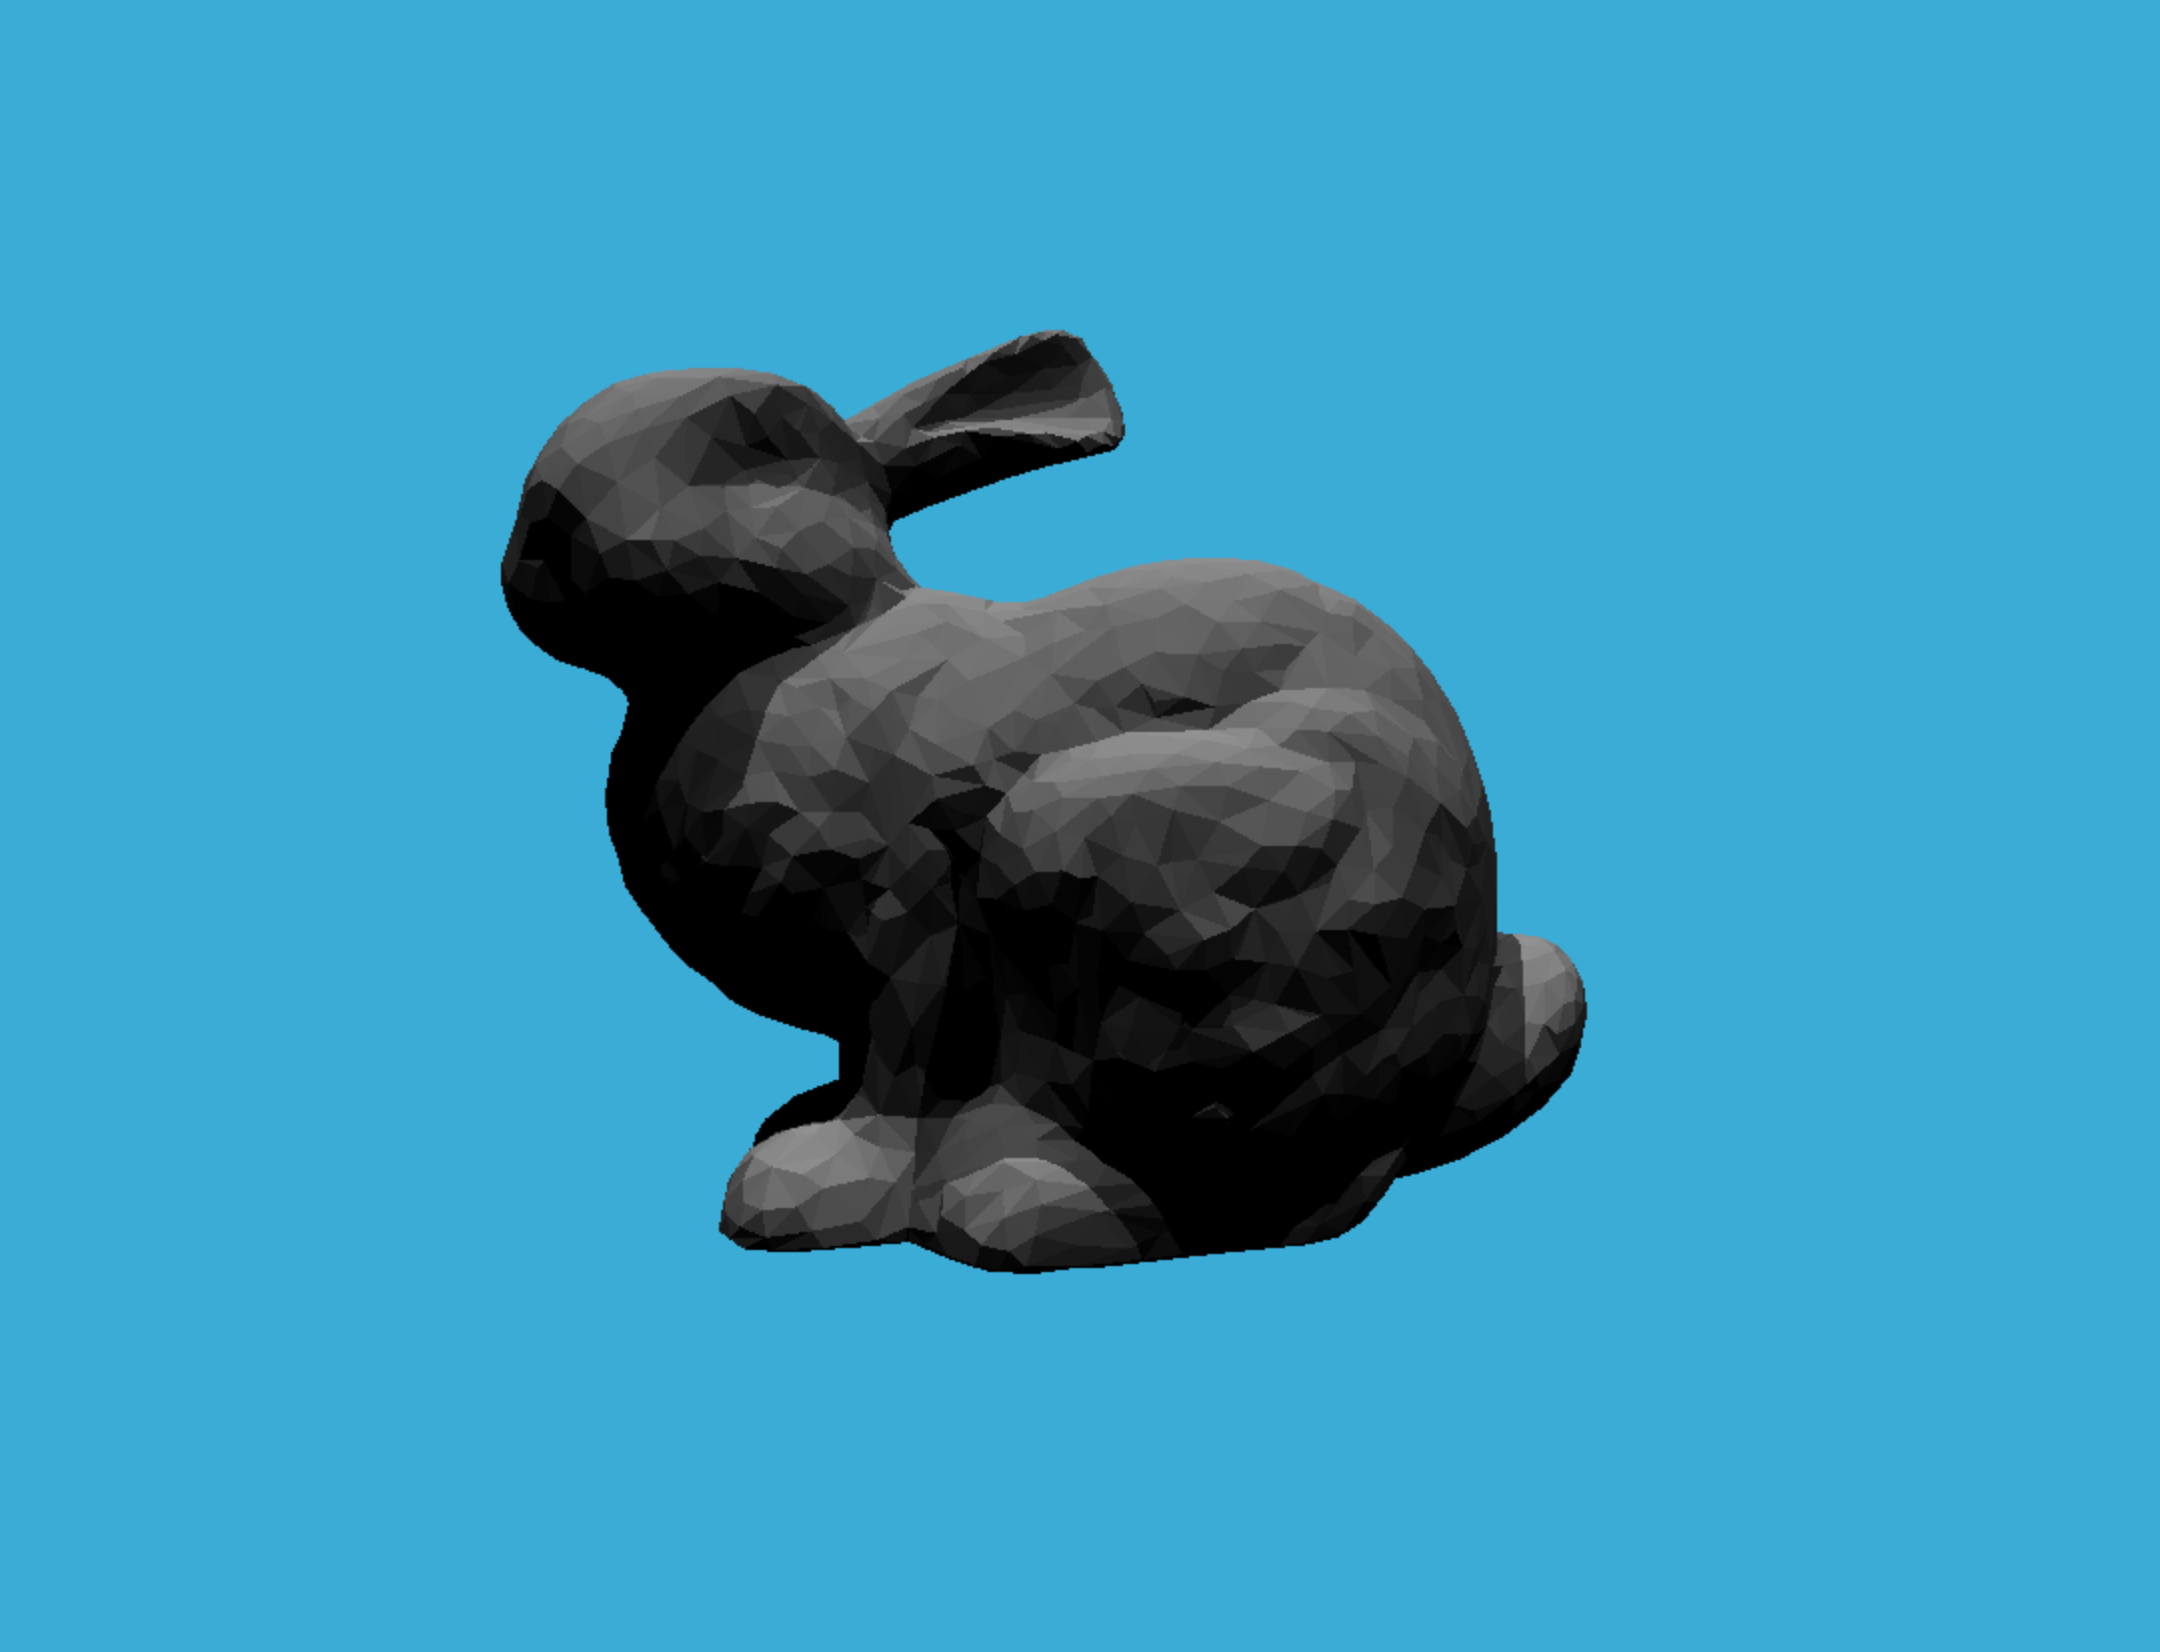
很棒的光影!但是渲染这张图片需要花费我的电脑6-8秒钟,BVH还是太慢了,接着,我们来学习新的加速模式SAH(Surface Area Heuristic)。
提高题(SAH加速)
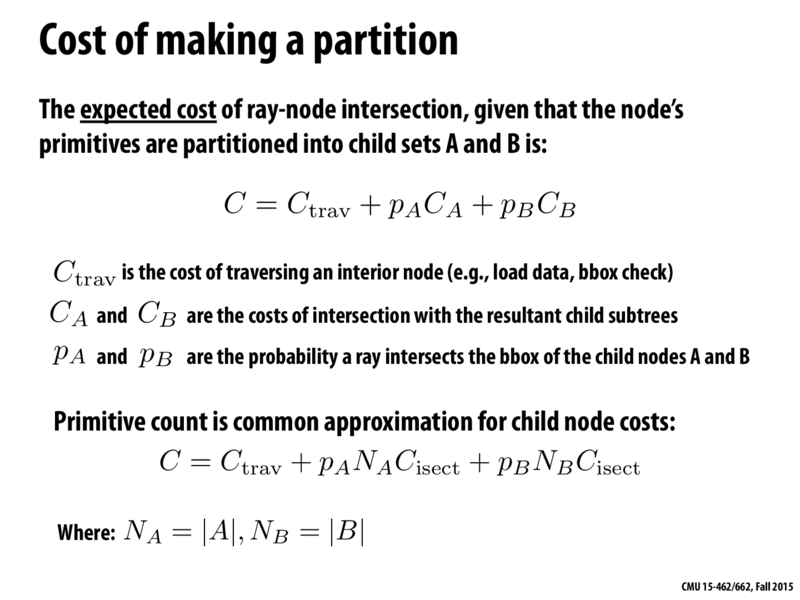
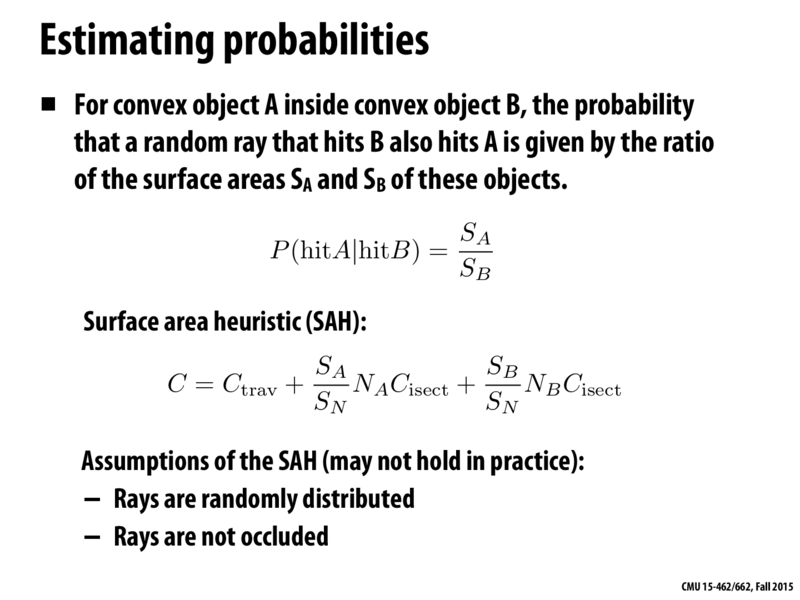
首先,做BVH的时候,我们划分空间的方式是从中间进行的,不考虑空间中物体的密度大小。这样可能导致划分非常的不合理。而简单来说SAH就是指在划分空间的时候,先判断两块空间所需的时间(进行估计),估计的方法有很多。
我们的优化目标就是这个总消耗\(C\)
0.125为无关消耗,可以理解为计算这个消耗的消耗 \(C_{trav}\) 第二个和第三个分别是左节点和右节点的消耗 最后的maxAreaDiv就是总当前节点包围盒的总面积分之一 \(\frac{1}{S_N}\)
1 float cost = 0.125f + (leftCount * leftBounds3.SurfaceArea() + rightCount * rightBounds3.SurfaceArea()) * maxAreaDiv;
枚举一定数量的划分方案,然后估算这些方案的消耗值。通过求最大值得到划分方案。
1
2
3
4
5
6
7
8
9
10
11
12
13
14
15
16
17
18
19
20
21
22
23
24
25
26
27
28
29
30
31
32
33
34
35
36
37
Bounds3 centroidBounds;for (int i = 0 ; i < objects.size(); ++i)int dim = centroidBounds.maxExtent();float maxArea = centroidBounds.SurfaceArea();float minCost = std ::numeric_limits<float >::infinity();int minClipNum = 0 ;float BoundingClip = 10 ;float BoundingClipDiv = 1.0f / BoundingClip;float maxAreaDiv = 1.0f / maxArea;for (int i = 0 ; i < BoundingClip; i++)float leftCount = 0.0f ;float rightCount = 0.0f ;auto middlingTemp = objects.begin() + std ::floor (objects.size() * (i * BoundingClipDiv));for (auto j = objects.begin(); j < middlingTemp; j++)1.0f ;for (auto j = middlingTemp; j < objects.end(); j++)1.0f ;float cost = 0.125f + (leftCount * leftBounds3.SurfaceArea() + rightCount * rightBounds3.SurfaceArea()) * maxAreaDiv;if (cost < minCost)std ::floor (objects.size() * (minClipNum * BoundingClipDiv));
这里就不挂完整代码了,有兴趣的小伙伴可以去github上看。
结果
AMD® Ryzen 7 5800h with radeon graphics × 16
BVH ./RayTracing BVH
BVH用我的电脑跑出来最好的效果是最快7299ms
SAH ./RrayTracing SAH
SAH用我的电脑跑出来最好的效果是最快6732ms
DIY
有兴趣的小伙伴可以尝试修改float BoundingClip = 10;,它在BVHAccel::recursiveBuild中,代表SAH划分空间的时候枚举的空间数量。说不定会有更好的加速效果哦~
代码汇总
zhywyt-github
下/上一篇
下一篇: 上一篇:Ray Tracing 光线追踪


