本文最后更新于 2025-03-05T05:55:52+00:00
前言
最近在为我的gitea服务添加Actions模块,但是发现官网的方式有一个严重的问题:docker内无法正常访问外网,于是我就想使用自建容器来实现在本地运行的runner。下面是官网教程:Overview | Gitea Documentation
安装act_runner
目标机器需要安装gitea/act_runner: A runner for Gitea based on act. - act_runner - Gitea: Git with a cup of tea ,用于向自己的服务注册一个runner。下载自己对应的版本就可以了。然后需要创建一个配置文件,其中你的token可以在你自己的gitea管理界面下的action找到。如果找不到请查阅官方文档。
1 2 3 4 5 6 7 8 mv act_runner-0.2.11-linux-amd64 act_runnermkdir runner && mv act_runner runner && cd runnerchmod +x act_runner
要将它默认的几个容器配置删除,找到labels下的,修改为以下结构,其实就是去除了容器的形式,只允许使用host运行。
1
2
3
4
5
6
7
8
9
10
11
12
13
14
*** config.yaml 2025-03-05 05:13:35.480359027 +0000"ubuntu:host" "ubuntu-latest:docker://gitea/runner-images:ubuntu-latest" "ubuntu-22.04:docker://gitea/runner-images:ubuntu-22.04" "ubuntu-20.04:docker://gitea/runner-images:ubuntu-20.04"
然后运行测试一下是否能正常启动:
1 ./act_runner daemon --config config.yaml
成功的输出大概是这样:Ctrl+C终止它,回到工作目录,准备安装node。
安装node
来到官网,选择最新版,Linux和你最喜欢的下载器,这里我使用NVM测试。Node.js — Download Node.js®
下面的指令或许需要科学上网,请自行准备本机科学上网方式。nvm
and install nvm: 1 2 3 4 5 6 7 curl -okh
这里提供一个nvm换源的方法:nvm 切换国内镜像 | NVM node
1 2 3 4
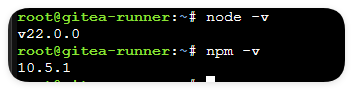
国内源很快,安装完后检查版本:
构建一个简单的测试
首先启动你的runner
1 ./act_runner daemon --config config.yaml
然后在你的任意仓库建立一个文件:`.gitea/workflows/demo.yaml’写入以下内容:
1 2 3 4 5 6 7 8 9 10 11 12 13 14 15 16 17 18 19 name: Gitea Actions Demo run-name: ${{ gitea.actor }} is testing out Gitea Actions 🚀 on: [push ]jobs: Explore-Gitea-Actions: runs-on: ubuntu steps: - run: echo "🎉 The job was automatically triggered by a ${{ gitea.event_name }} event." - run: echo "🐧 This job is now running on a ${{ runner.os }} server hosted by Gitea!" - run: echo "🔎 The name of your branch is ${{ gitea.ref }} and your repository is ${{ gitea.repository }} ." - name: Check out repository code uses: actions/checkout@v4 - run: echo "💡 The ${{ gitea.repository }} repository has been cloned to the runner." - run: echo "🖥️ The workflow is now ready to test your code on the runner." - name: List files in the repository run: | ls ${{ gitea.workspace }} - run: echo "🍏 This job's status is ${{ job.status }} ."
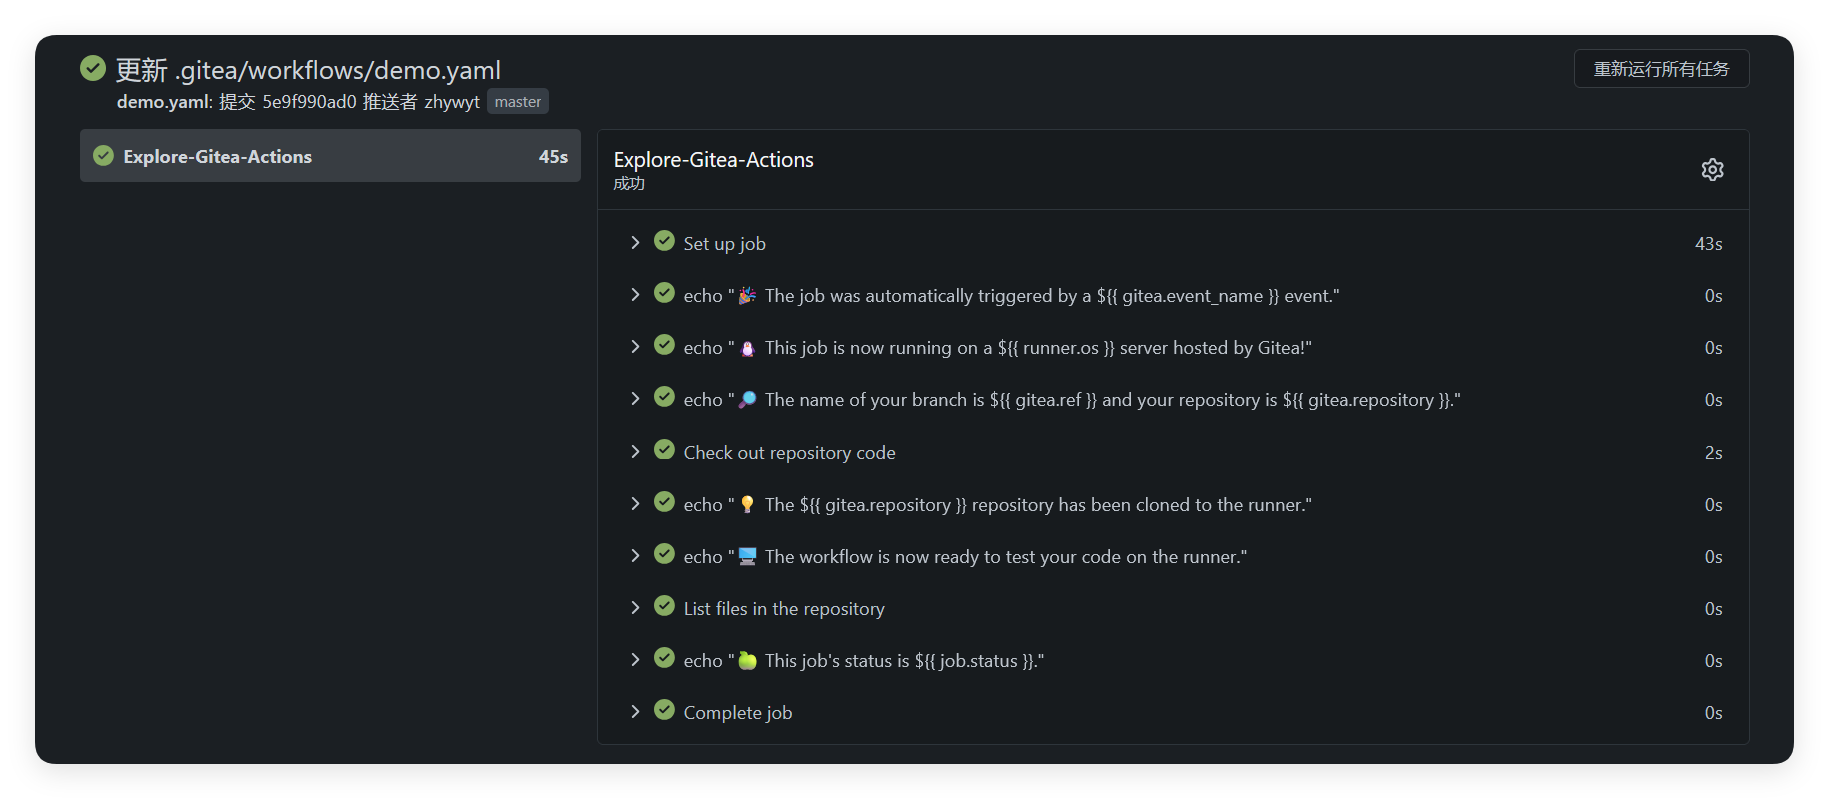
这里最重要的是runs-on,需要配置为上面你在config.yaml文件里labels下定义的runner中选一个。Push后会自动开始构建,构建成功就像这样:
镜像actions/checkout仓库
在我的测试用,如果runner机器与github的联通不是很通畅的话,尝试从github拉取action的时候会出现错误,所以可以选择从自己的仓库中拉取,在上面的demo.yaml文件中,修改uses:字段为:
1 - uses: http://<您的gitea服务器地址>/actions/checkout@v4
即可访问,但是注意需要将镜像的仓库转让给actions组织,转让仓库可以在仓库设置的最下方找到:
给git加代理
不过我建议直接给runner加上git的代理,这样可以最方便地移植github上的action。
1
2
git config --global http.proxy <your proxy addr>
那这篇文章就到这里咯,谢谢您的阅读!